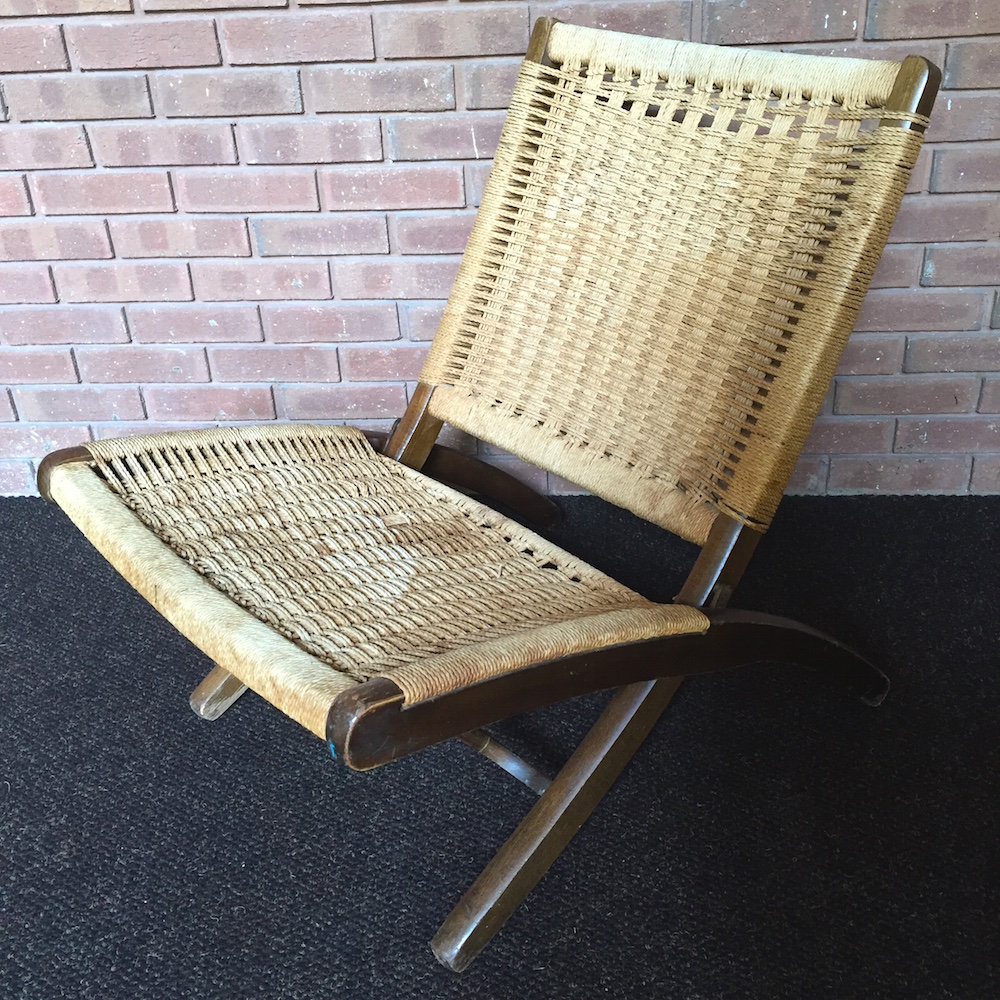
I got this poor old thing awhile ago and kept putting off work on it because the frame needed refinishing. It’s beech with a stain and then clear lacquer on top—it’s supposed to look like walnut but of course once the finish gets a little worn it is obvious that it’s not.
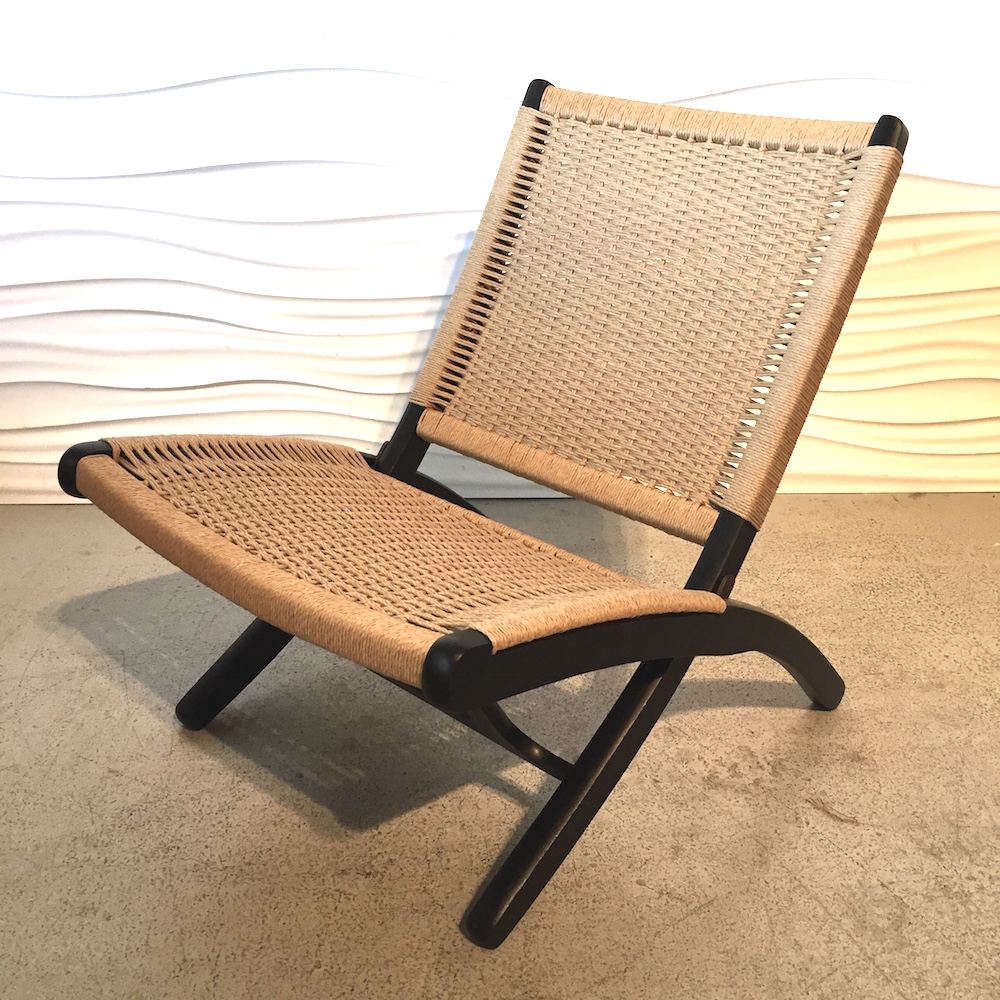
I chose to strip the lacquer and ebonize the chair with India ink, a process I’ve done on a number of other chairs. I think it looks especially good on these chairs and any dings can be easily touched up with a dab of ink!
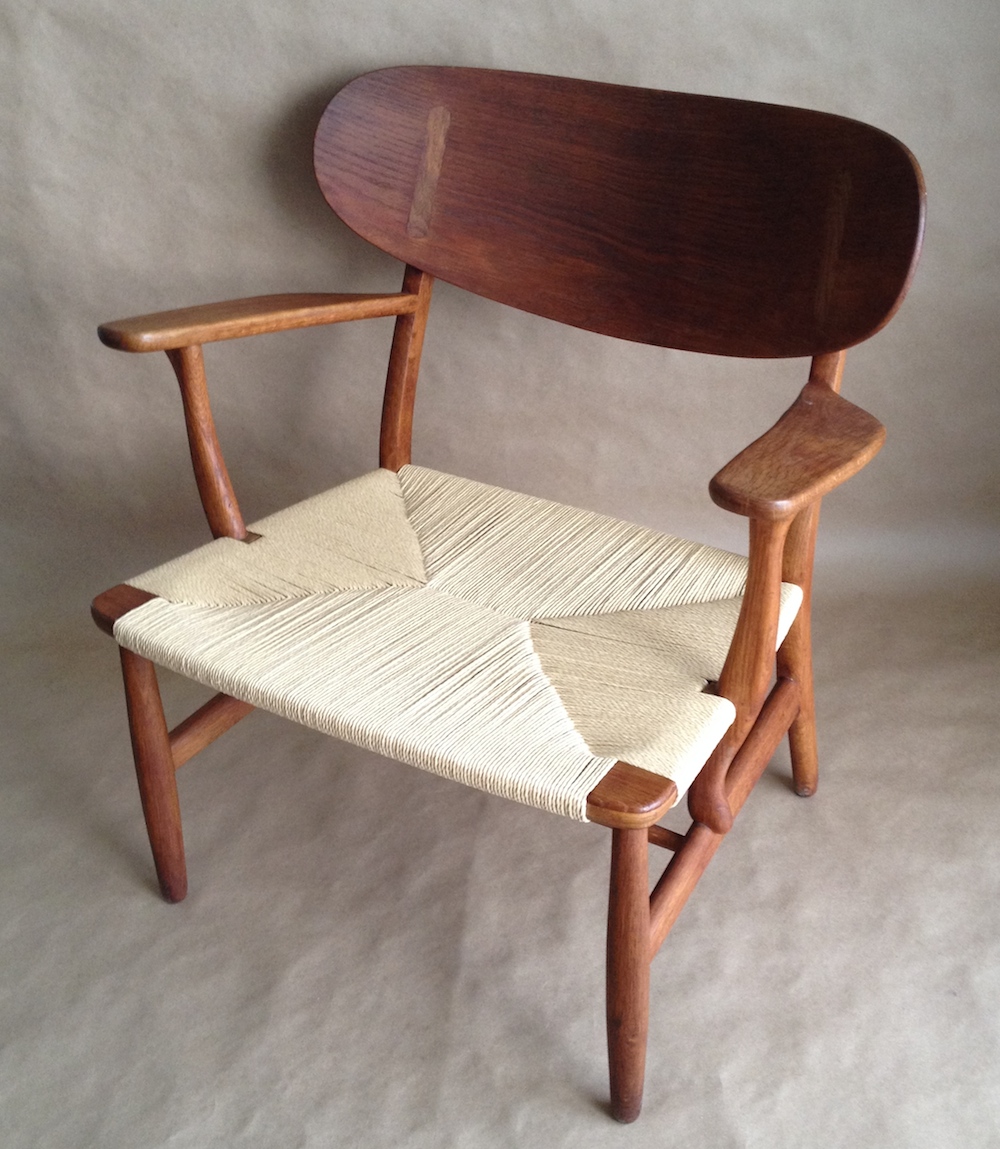
There are at least several different versions of these chairs, which were mostly made in Yugoslavia but you will see some marked Italy and Japan; they were inspired by Hans Wegner’s folding lounge chair. You might see one once in awhile being described as a Wegner original but that would be an incorrect attribution.
I like this version without the handles on the sides. It looks so much more sleek.
The paper cord didn’t have a lot of broken strands but it looked pretty awful nonetheless.
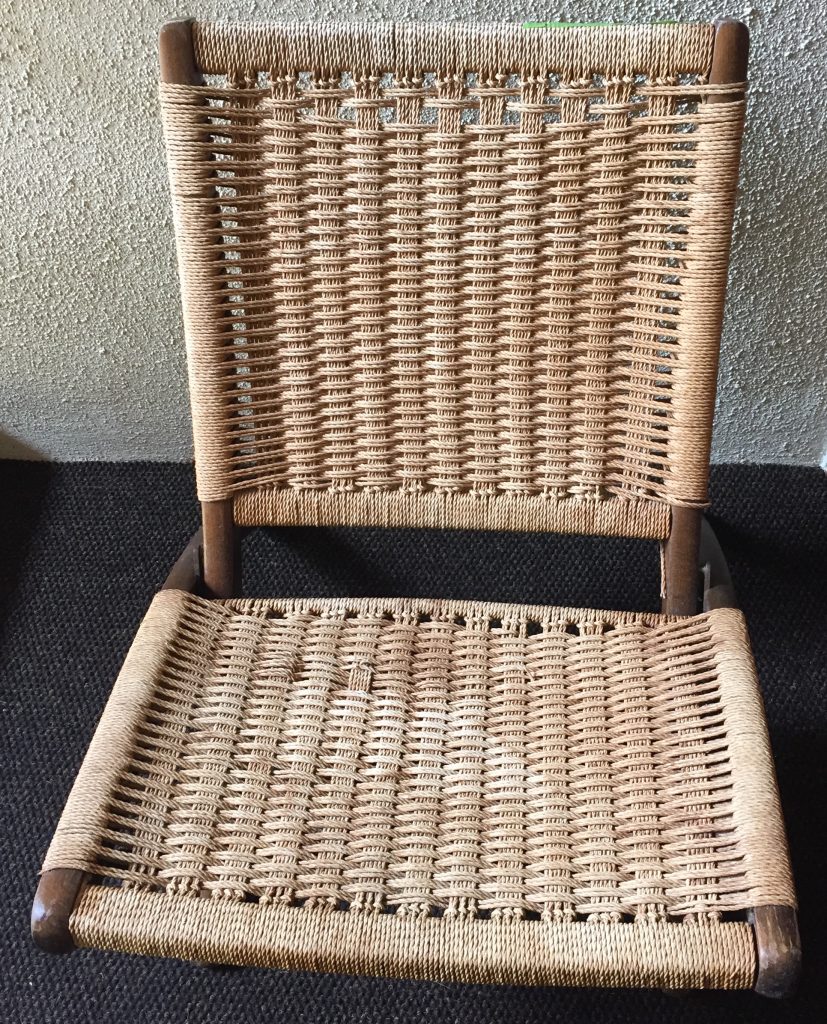
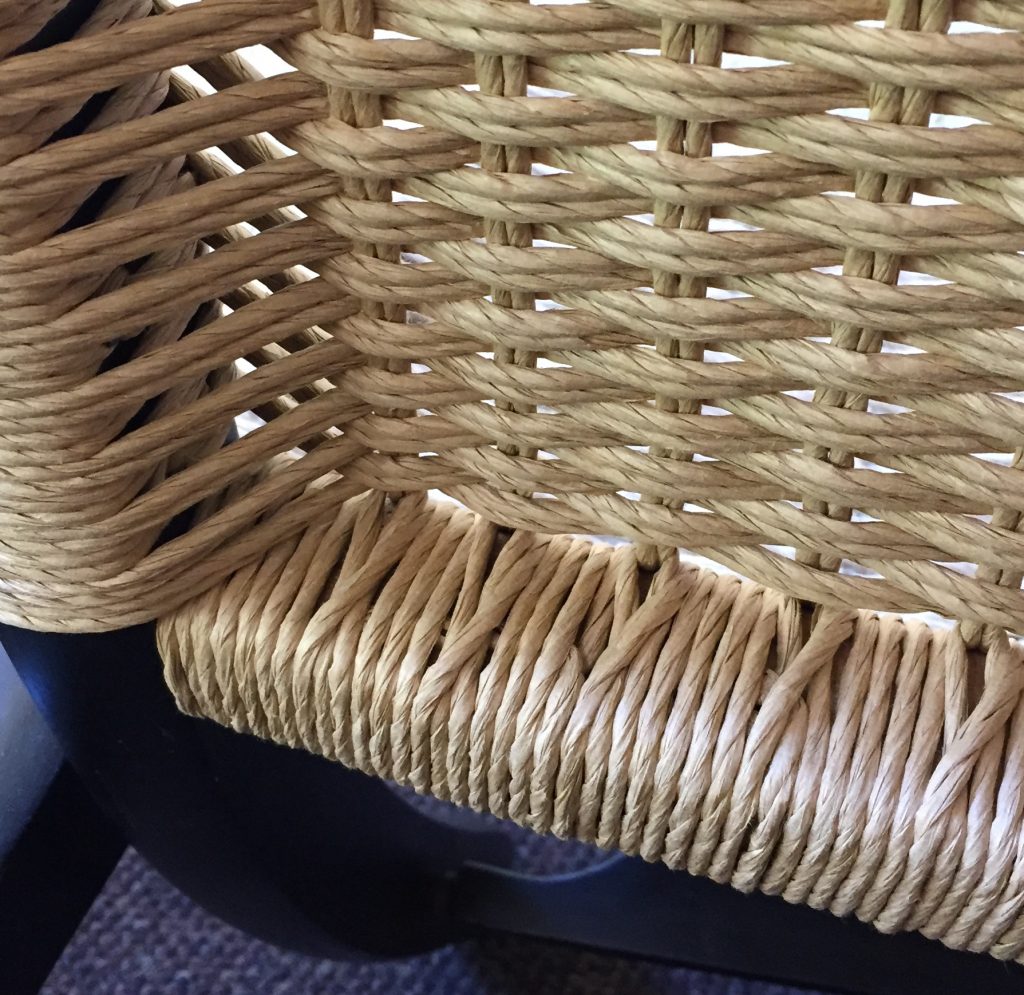
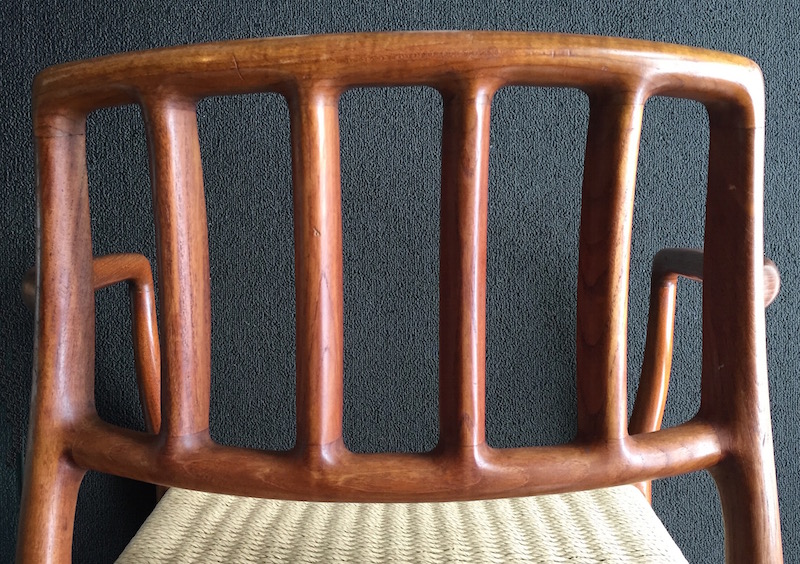
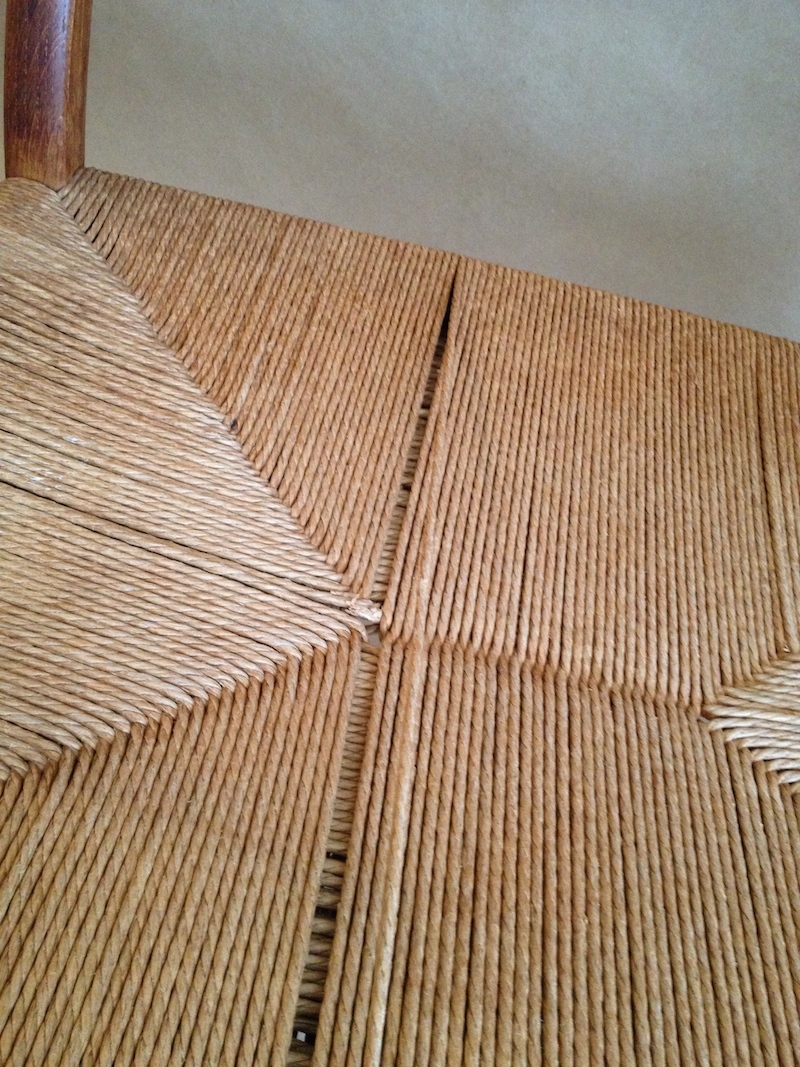
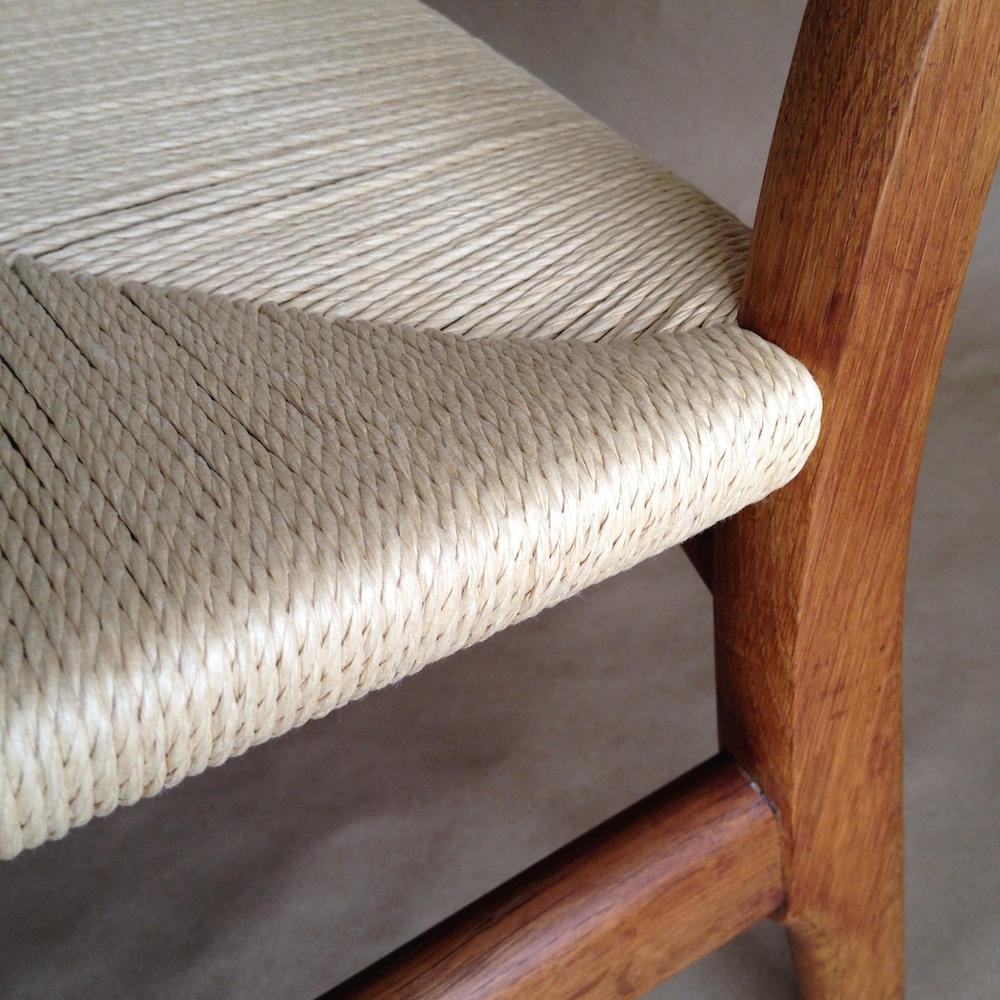
 I also like that the seat is solid weaving—no gap towards the front the way more are done.
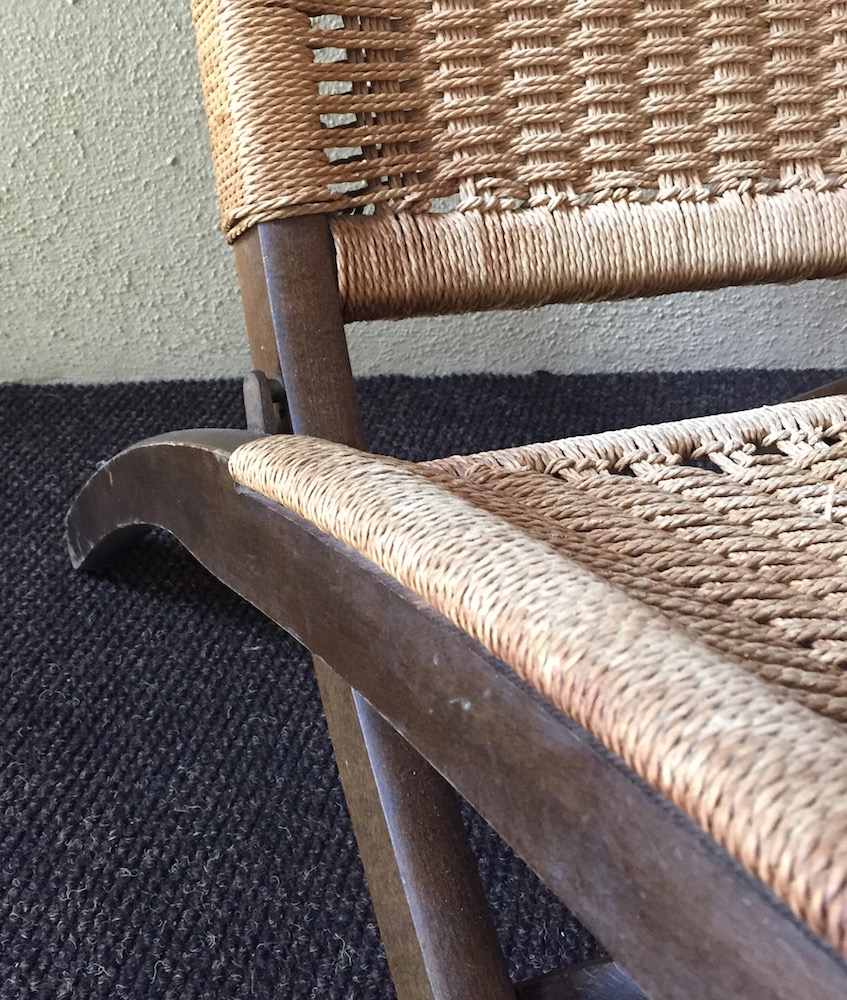
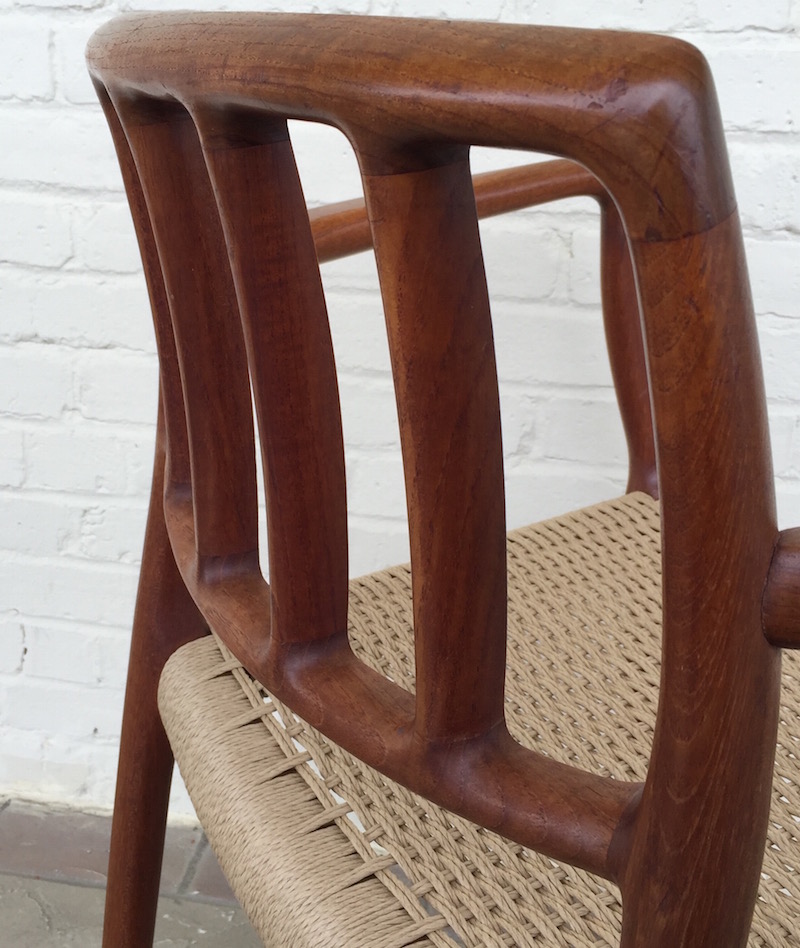
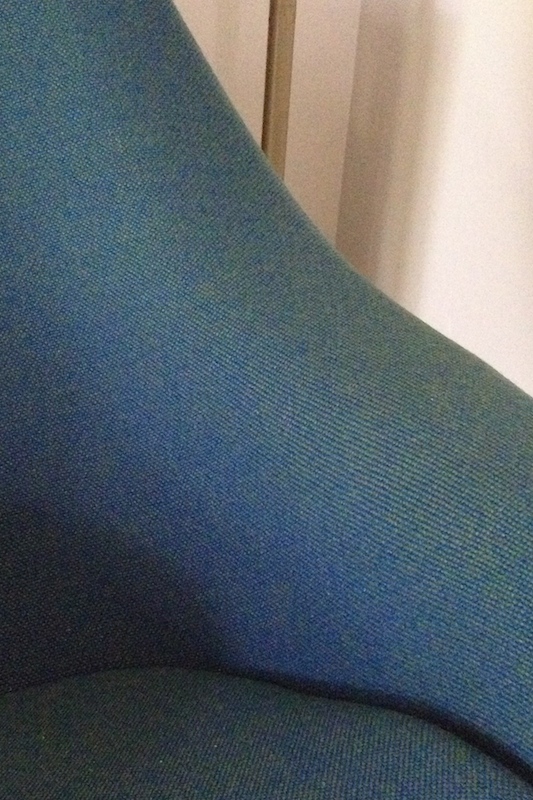
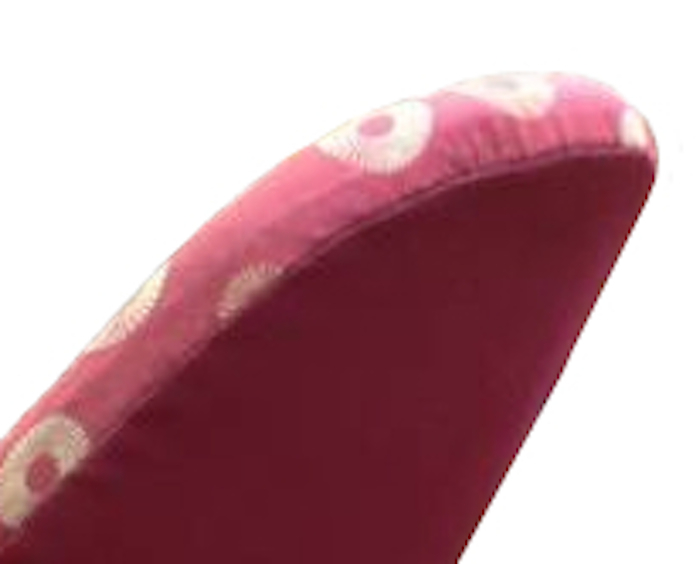
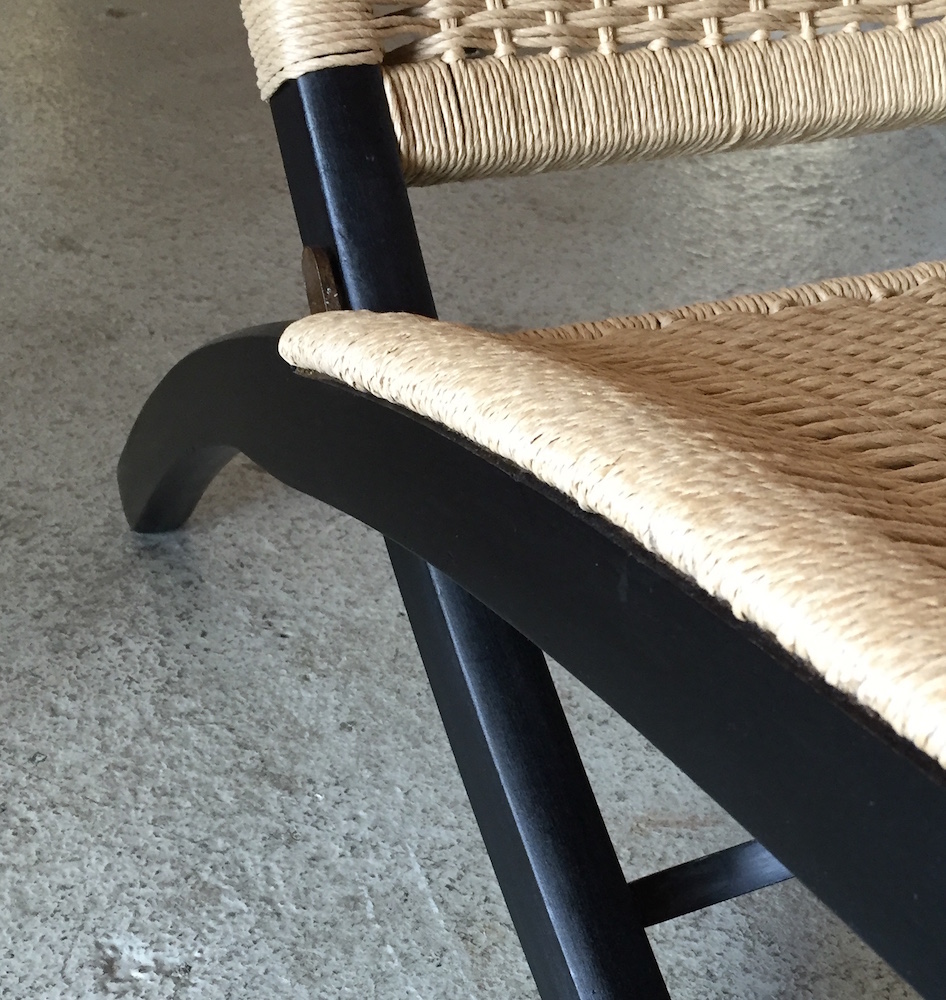 Love that clean line!
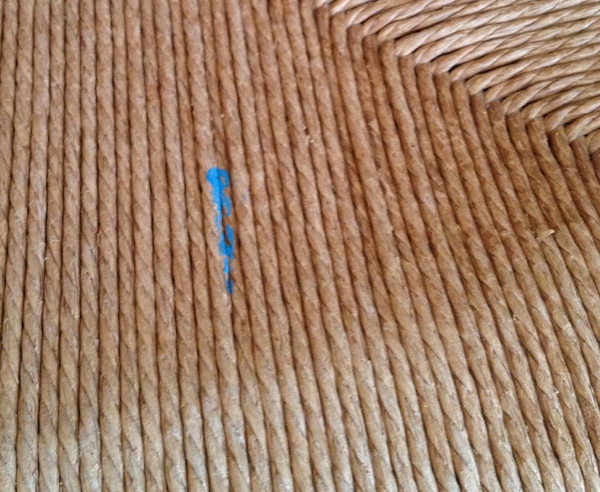
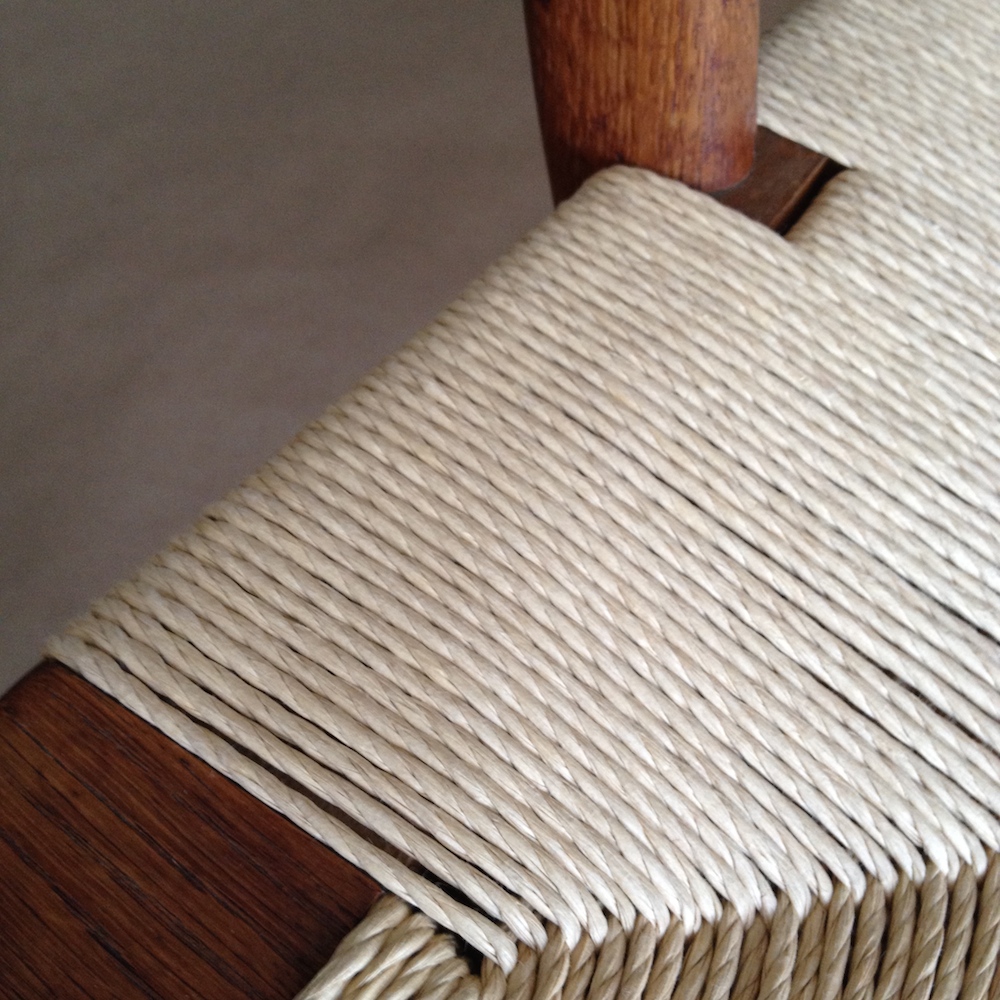
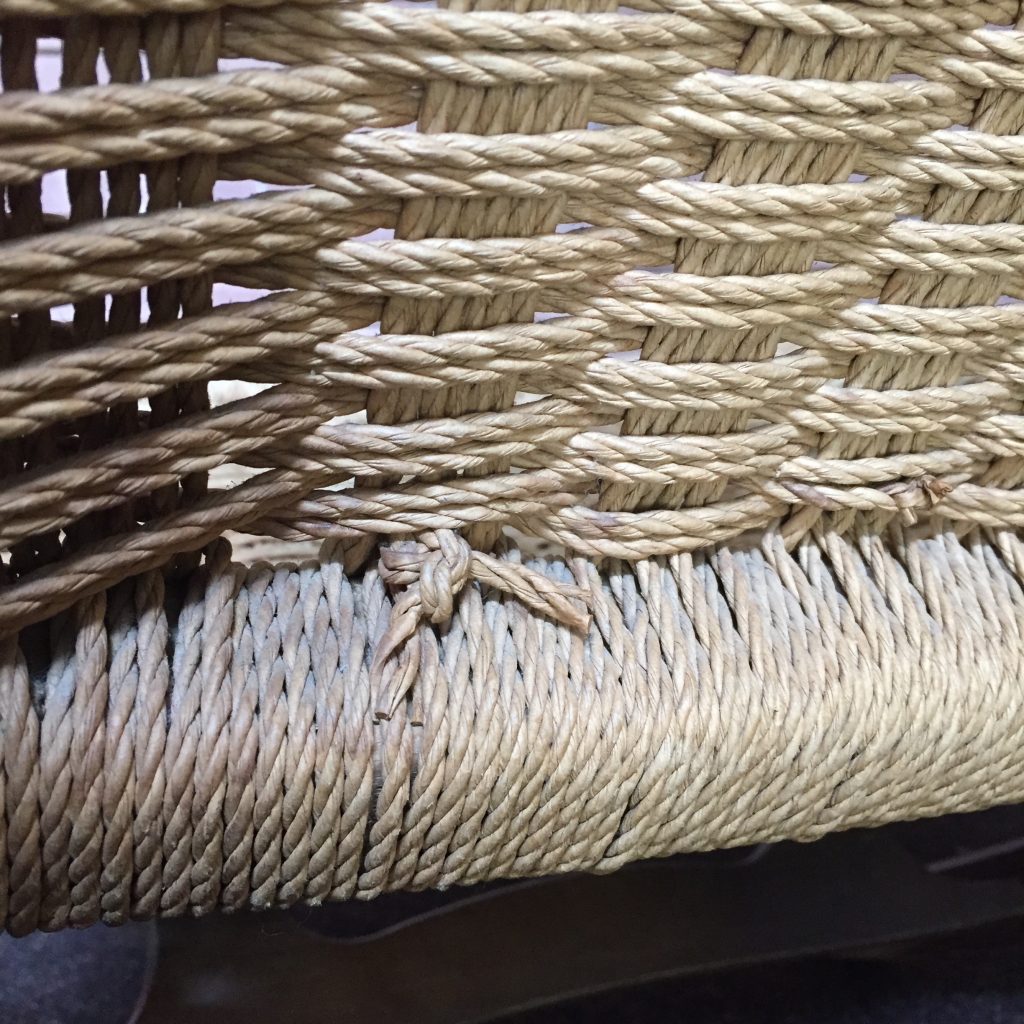 These chairs often have a lot of visible knots. This was the only visible one on this chair, at the lower outside back.
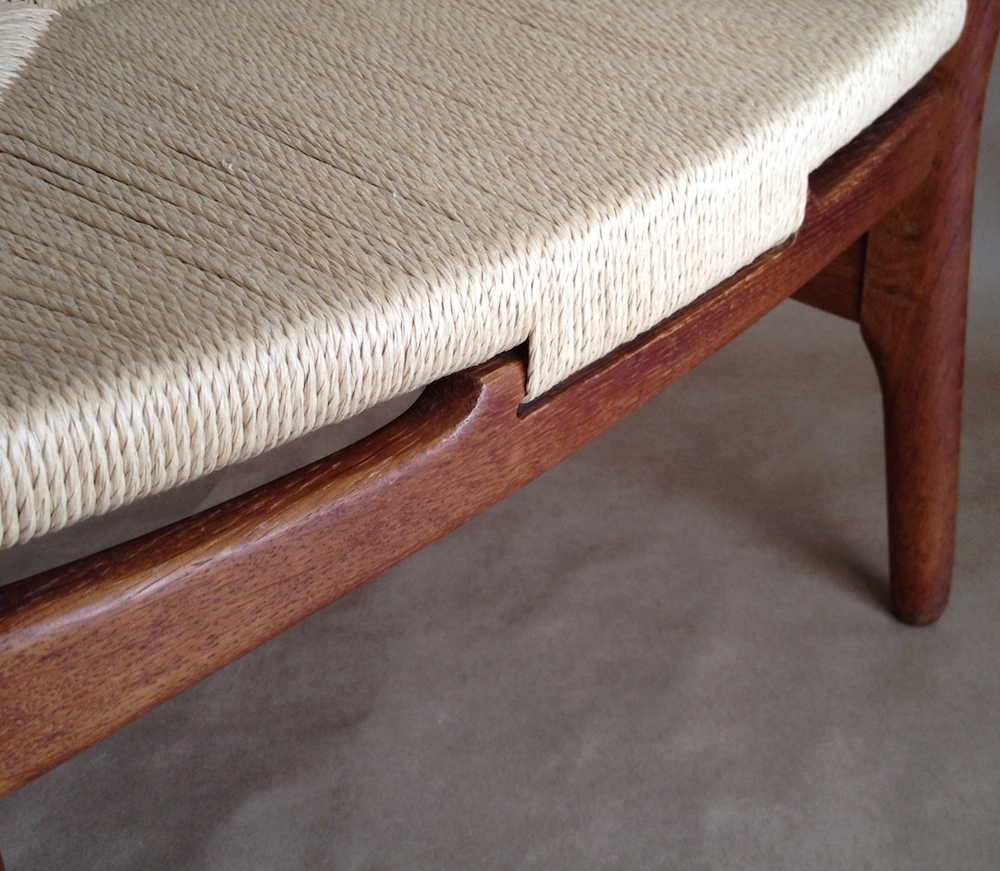
 It takes a little more work—mostly math and measuring—to weave it without knots, but it can be done. There are two cord joins in the lower rail above.
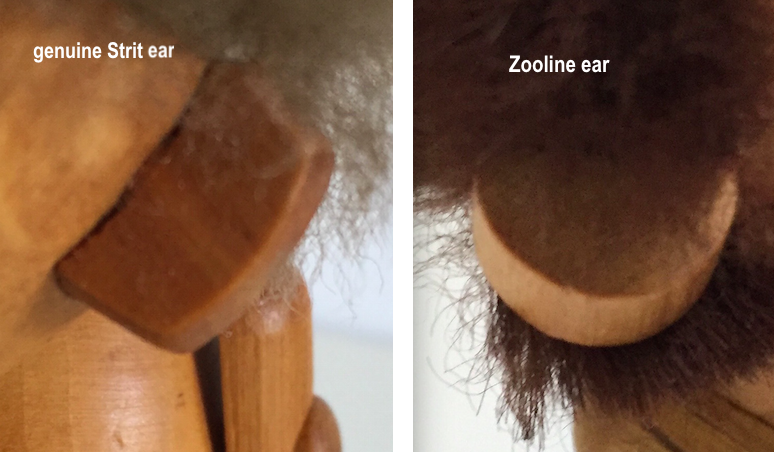
 You can see the difference in the ears here. Zooline’s are the same thickness from outer edge to base while Strit’s are thinner at the outer edge.
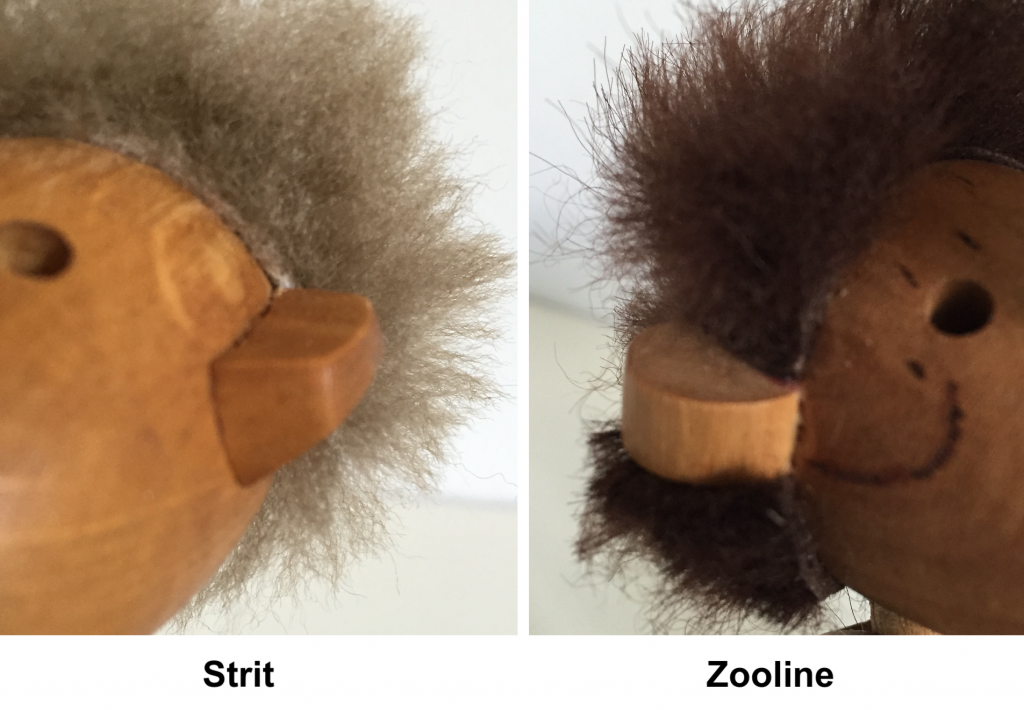
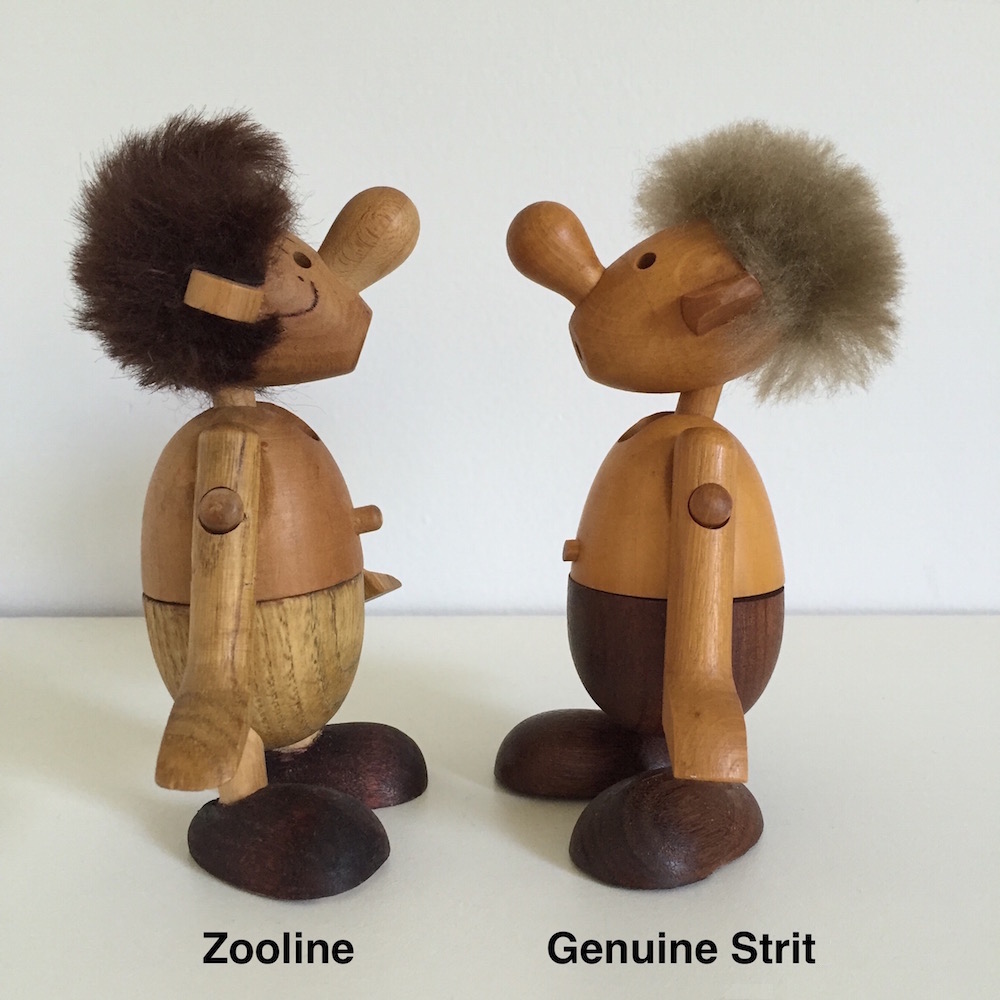
 Real Strit’s ears are also squarish, while Zooline’s are round.
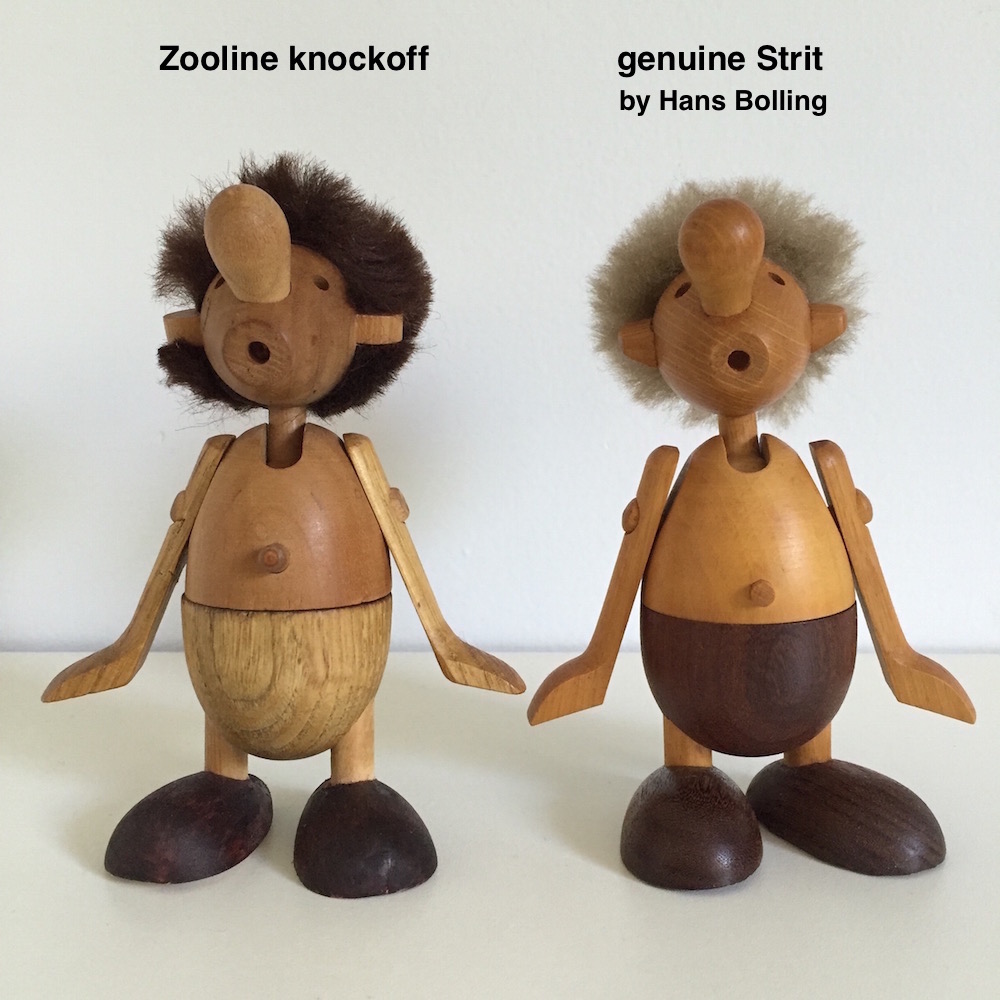
 The shape of the top end of the torsos is more obvious here. Also, real Strit’s head can sink lower than Zooline’s head.
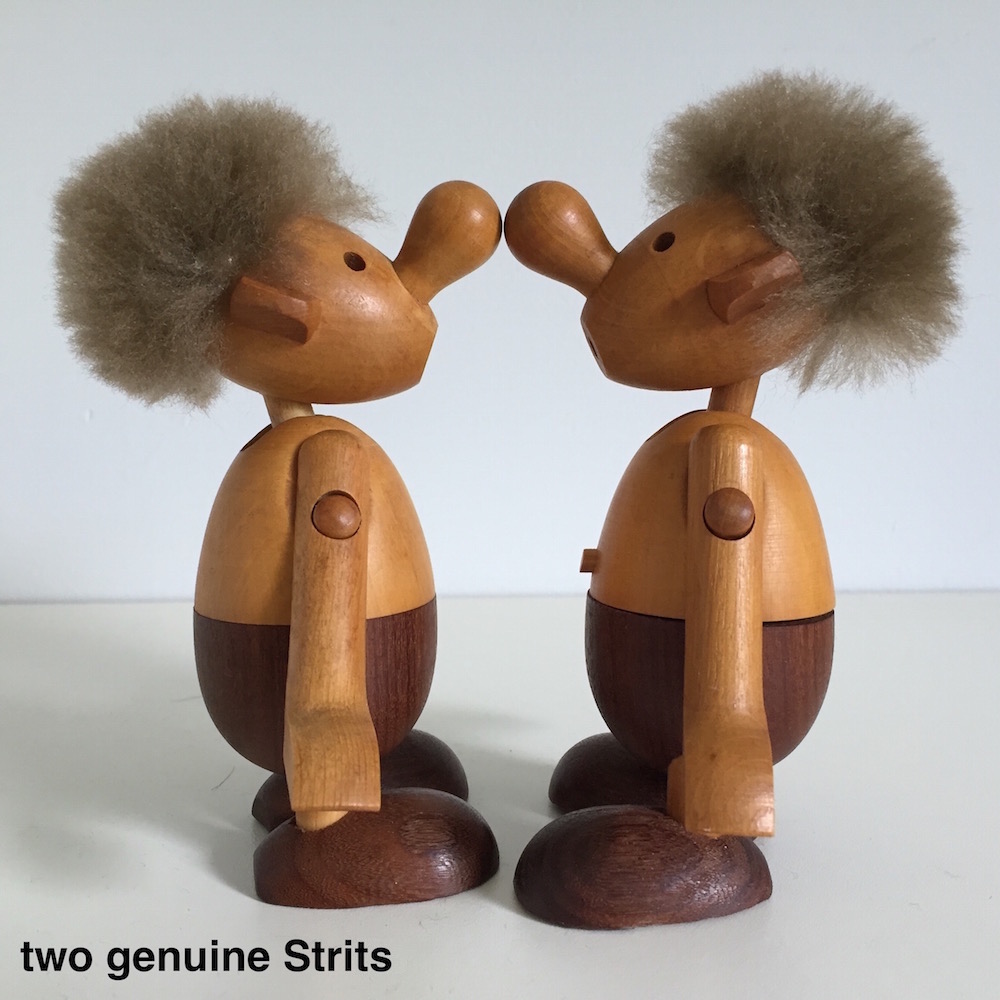 The difference in the bellybutton pegs is not significant. This peg is what holds the top half to the bottom half, an ingenious way to permit the figure to swivel at the waist. Sometimes it was tapped in flush and other times it was left protruding a bit.
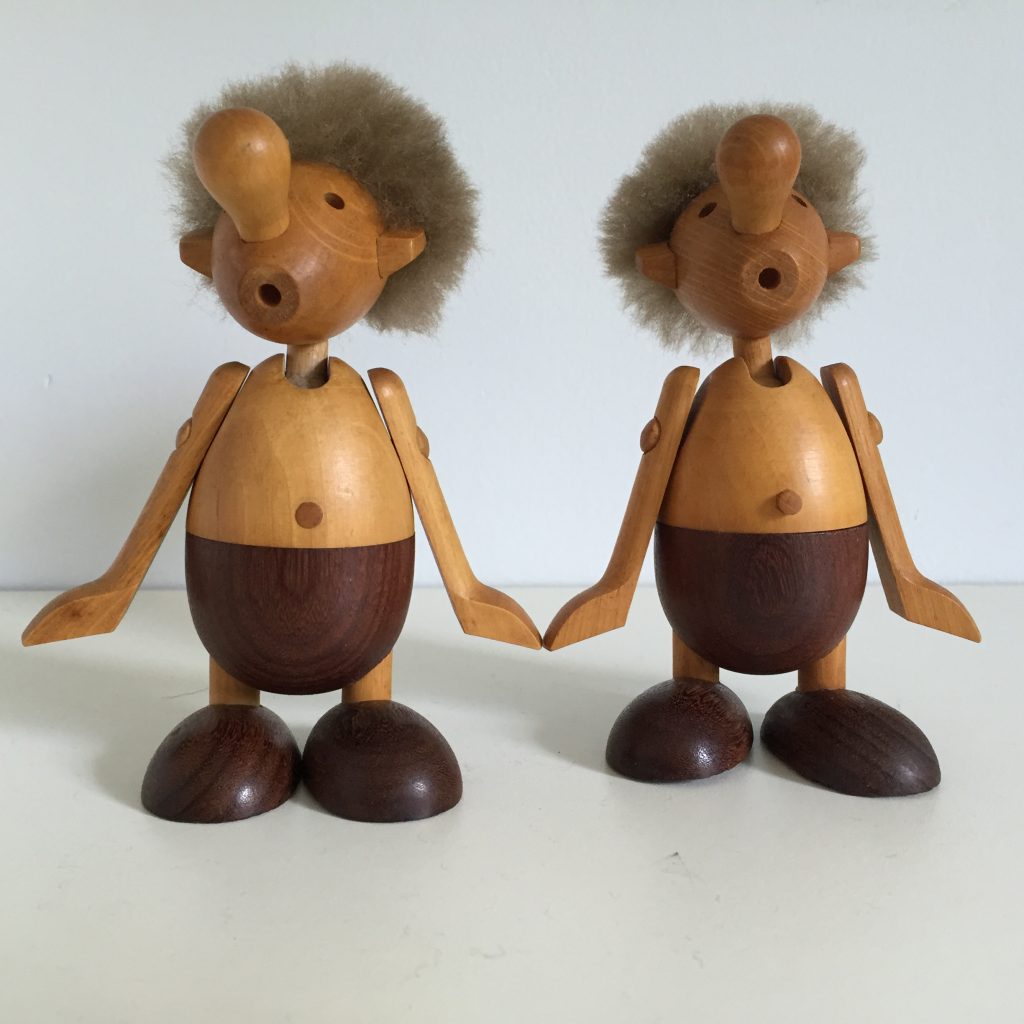
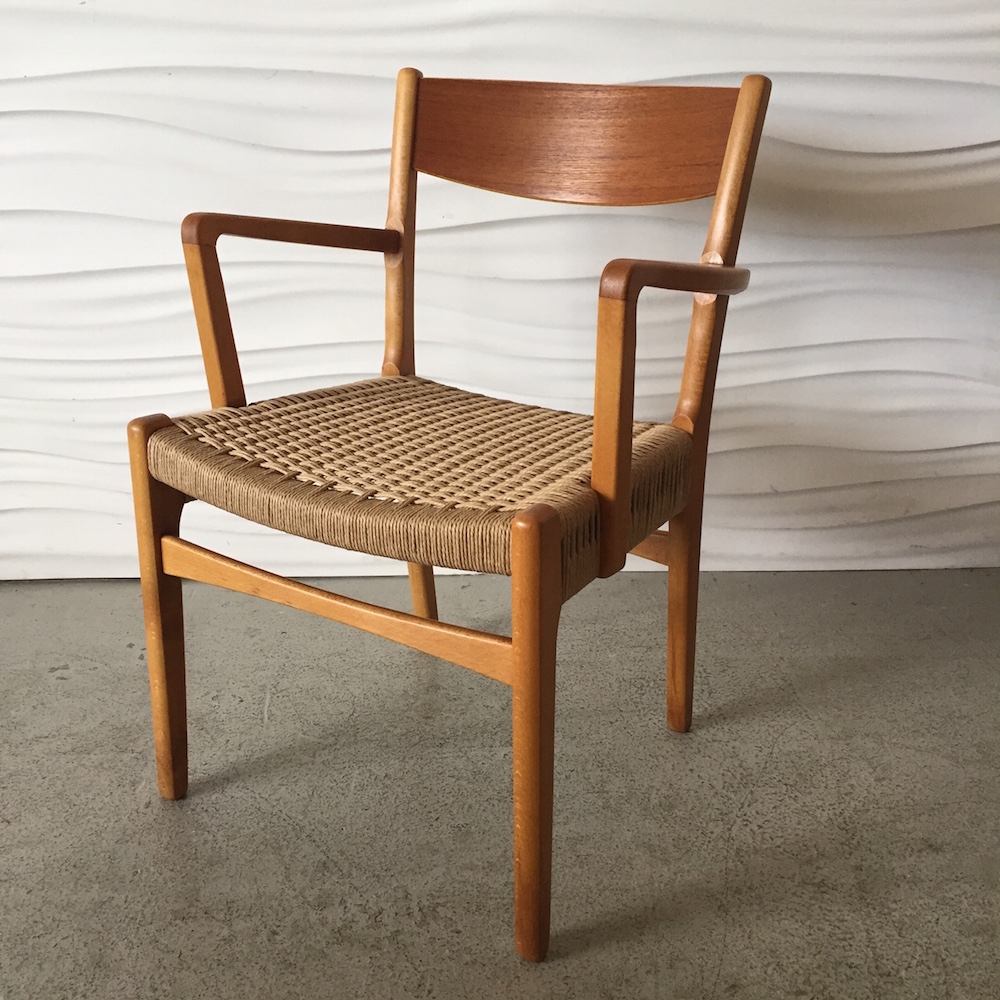 I got a set of six of these handsome Swedish chairs about four years ago and in all that time I never took a ‘before’ photo of them! The seats were shot and the original lacquer finish was badly chipped and scuffed. The legs on some of them were discolored from standing in water. They had to be refinished completely.
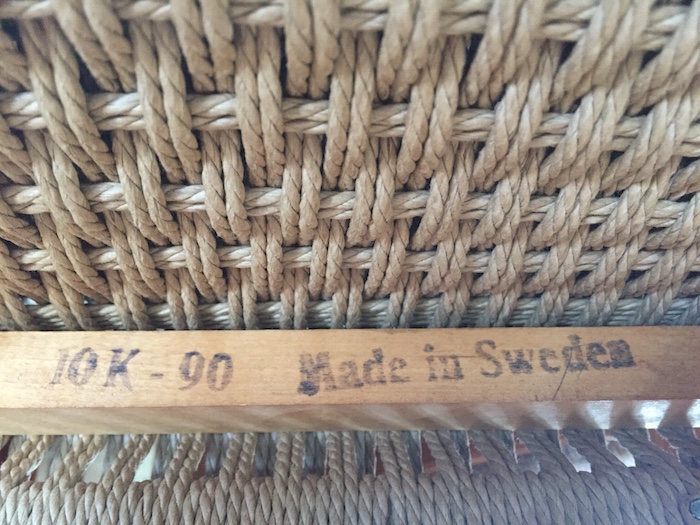 I’ve researched the design at various times and have never found any information on the manufacturer or designer, if there even was an individual who came up with the design. It seems to be a somewhat rare chair. I’m guessing it dates to the 50s but I don’t know for sure.
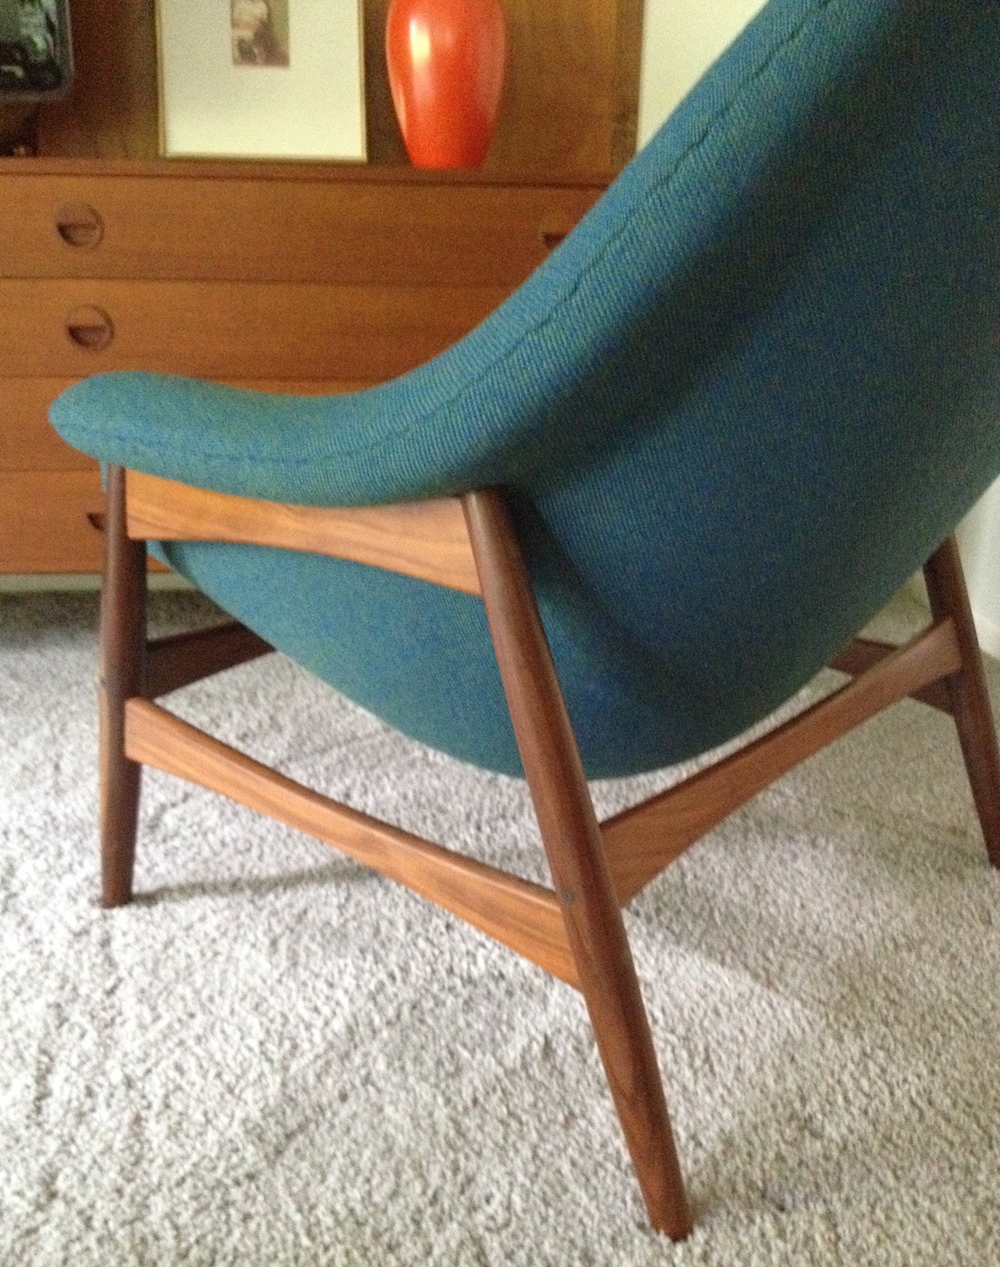
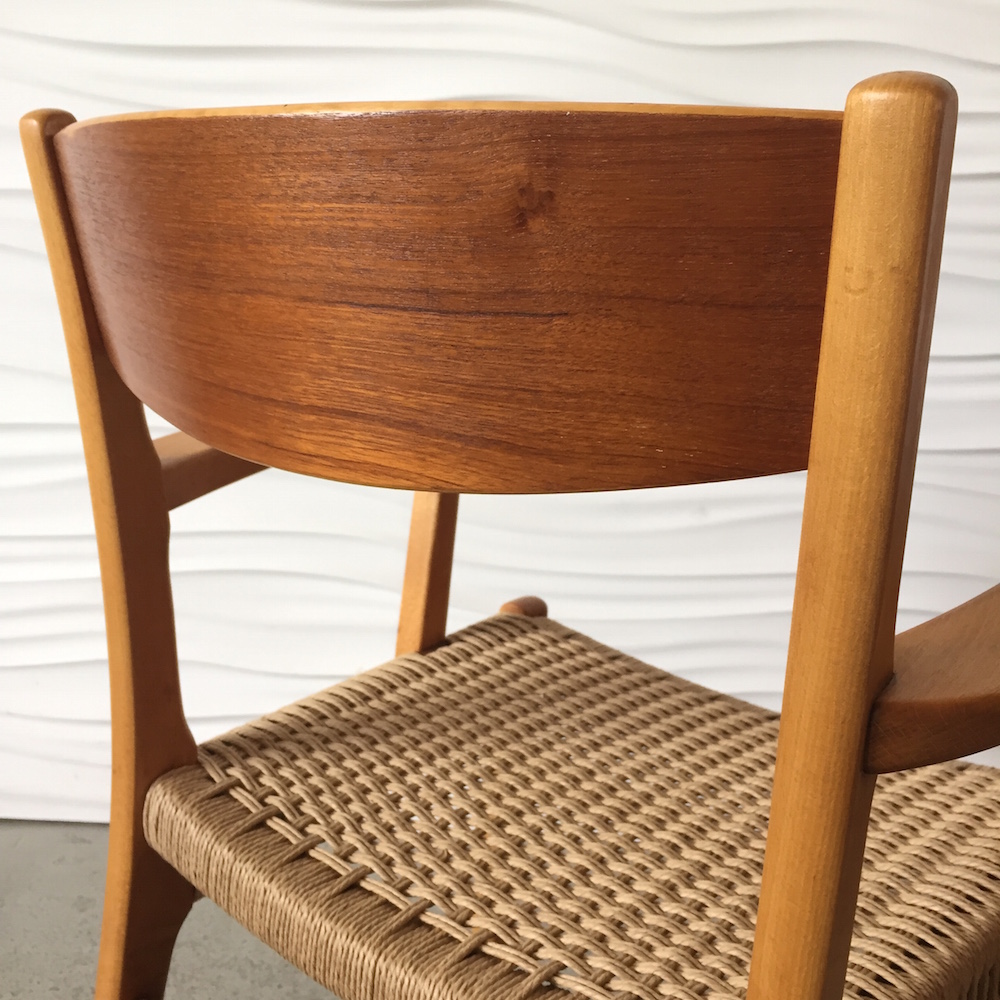 The frames are solid beech; the backrests are teak-veneered plywood. Very Scandinavian!
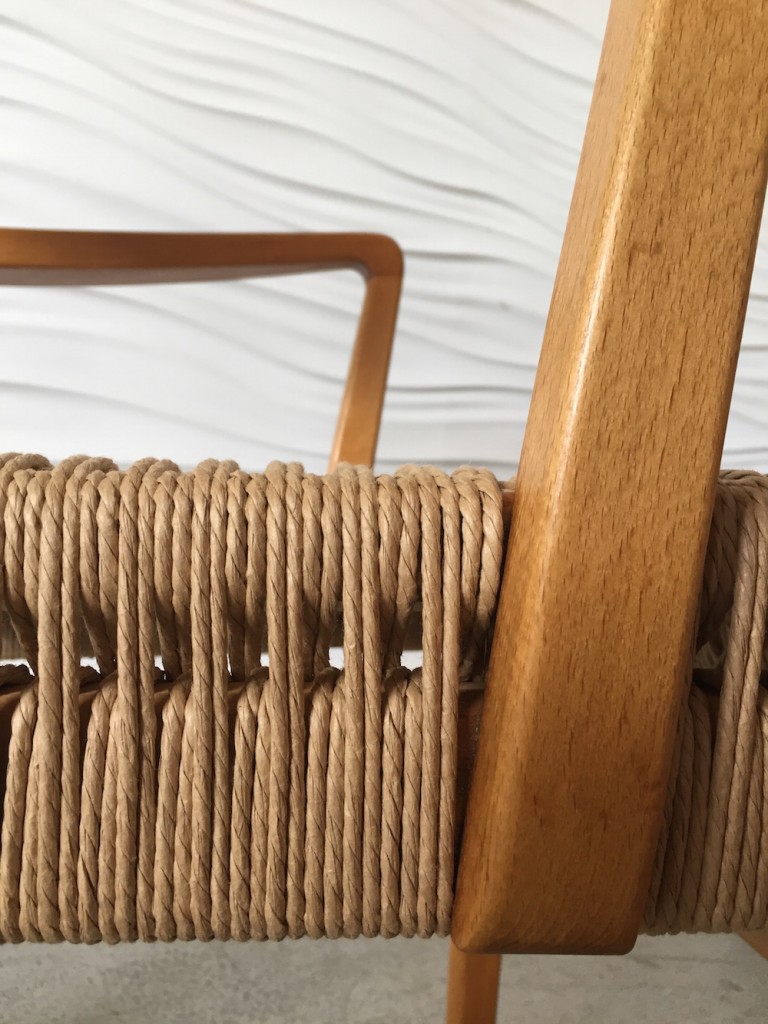 I love the sides.
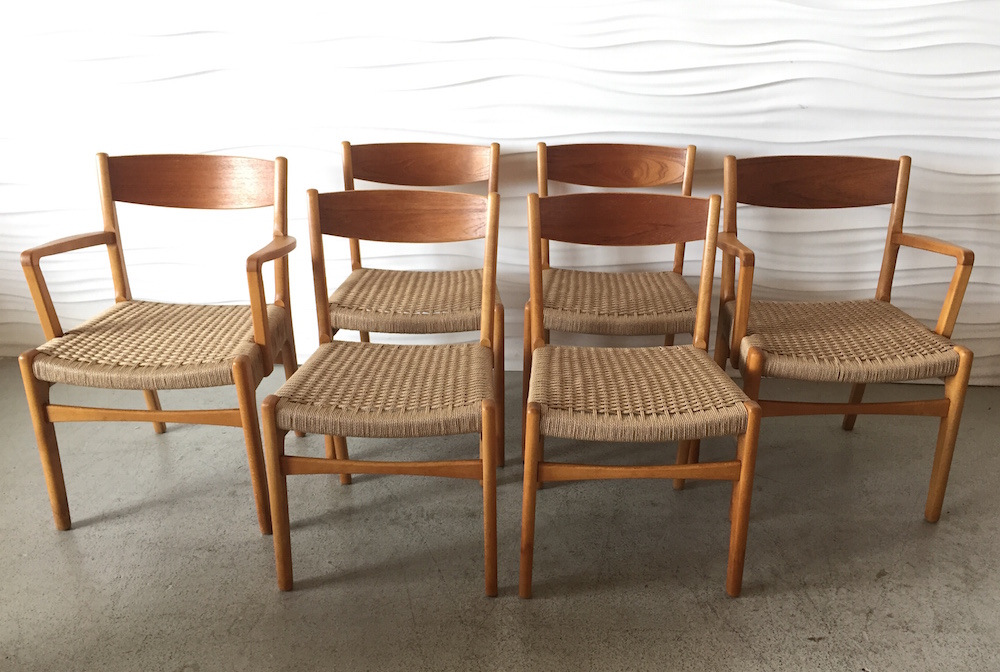 There are two armchairs and four side chairs.
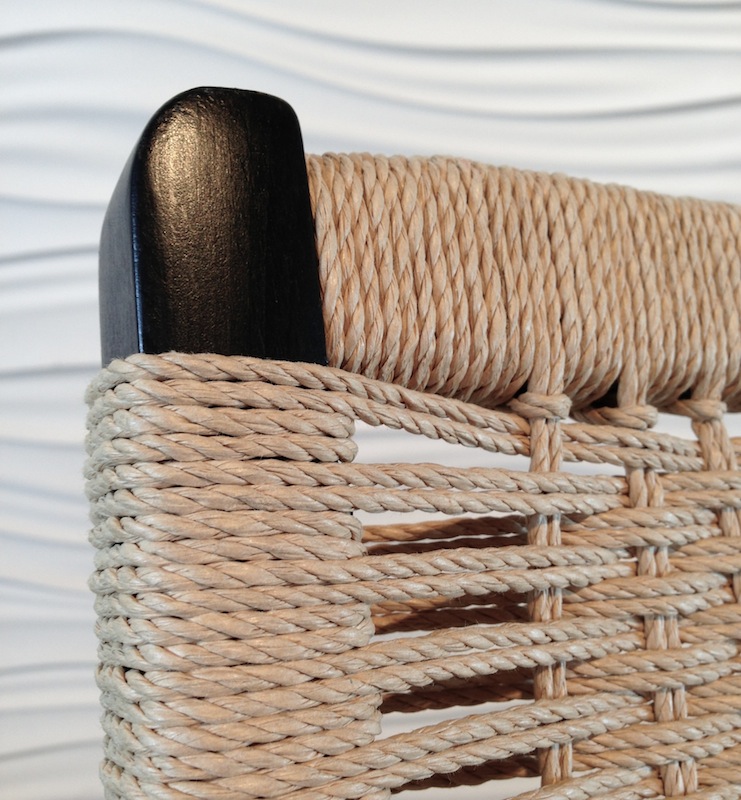 People have asked me about this one but I have never seen instructions on how to do it. I haven’t looked in awhile so maybe someone has published a how-to by now. It’s simple but kind of counter-intuitive at a couple of points. I learned by studying the original weave on a chair and just messing around with a piece of cord trying to copy it—and even then it took me at least half an hour!

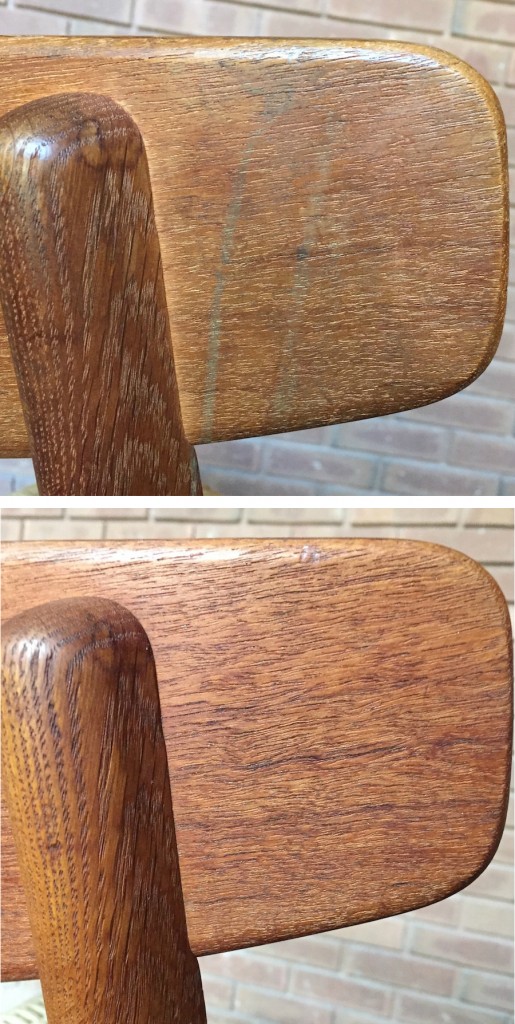
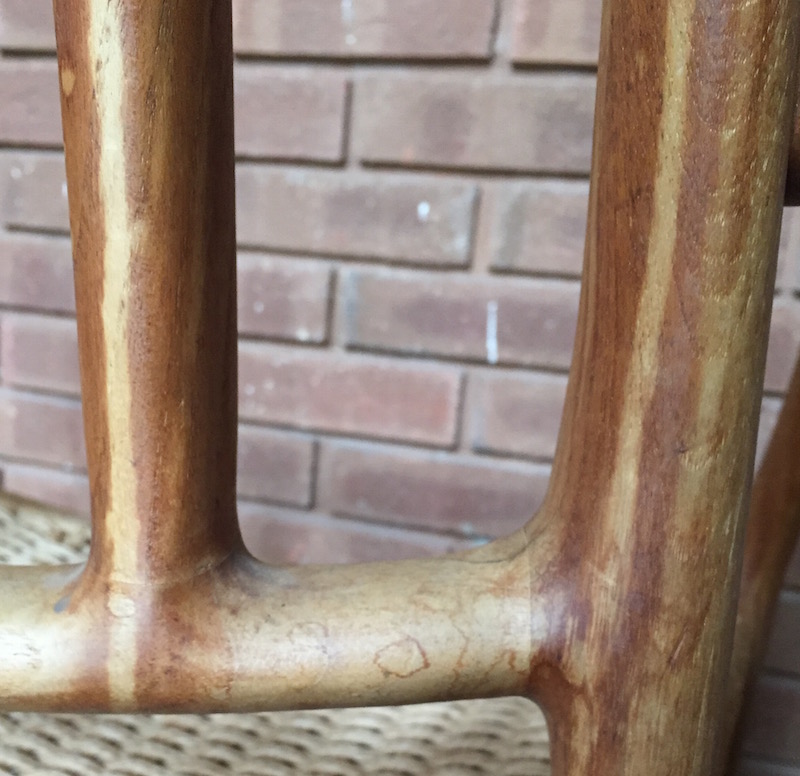 Extreme close-up. The other odd thing was that some of the light areas were really well-defined but others look more like the color had worn off where the chair had been handled a lot—which of course wasn’t the case because that’s not how it works with teak. I’d never seen anything like it.
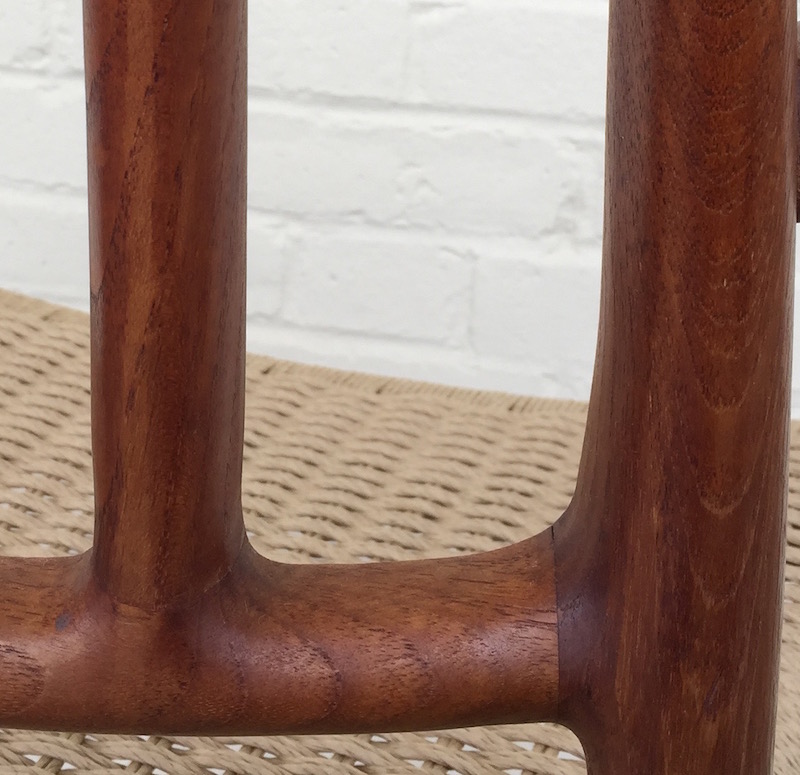 Some of it refused to disappear completely but it was pretty close.
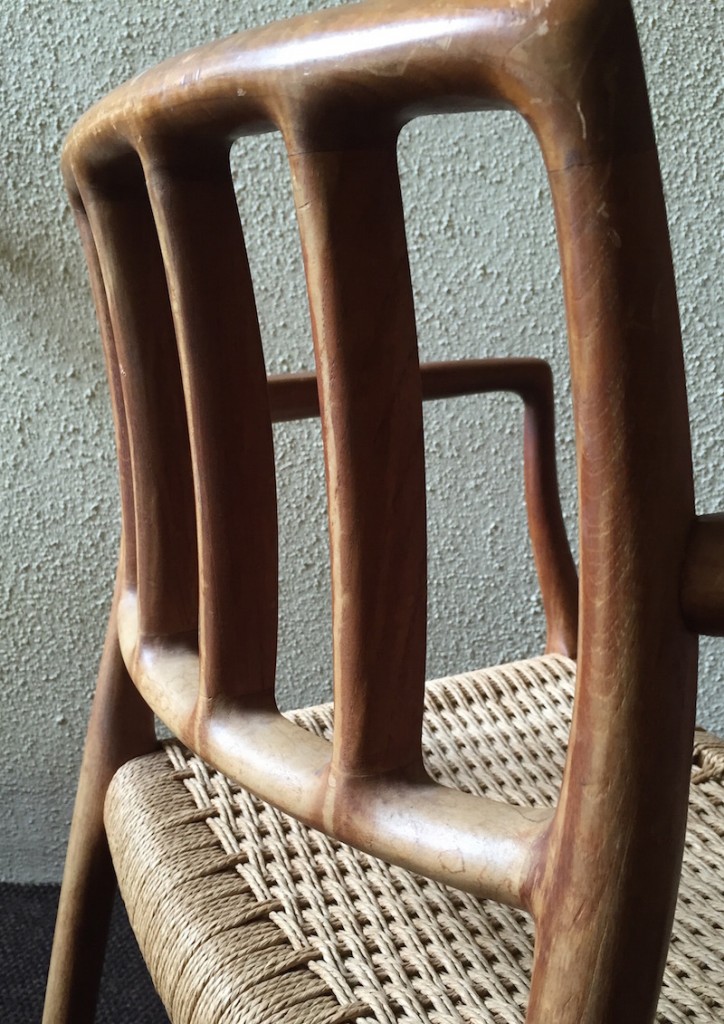
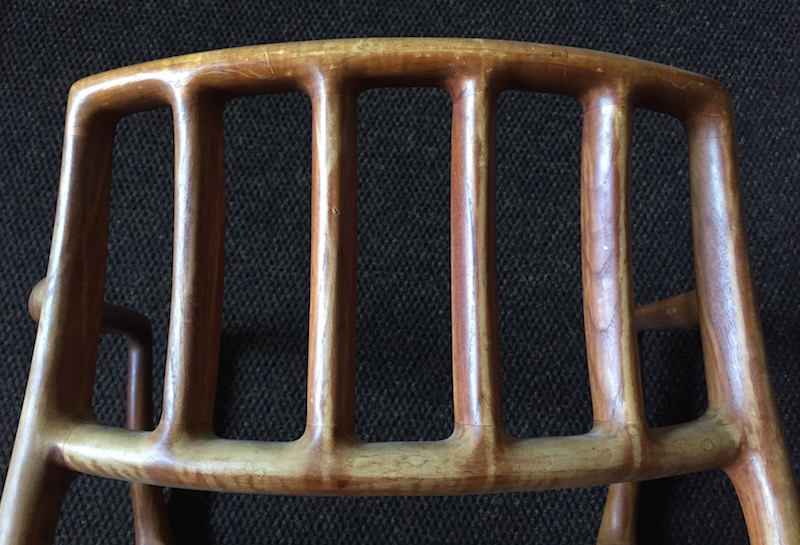
 The other thing is that the teak went from having a very yellowish cast to this gorgeous, deep aged teak color. That was a huge relief too, since the other three were already close to this when I got them.
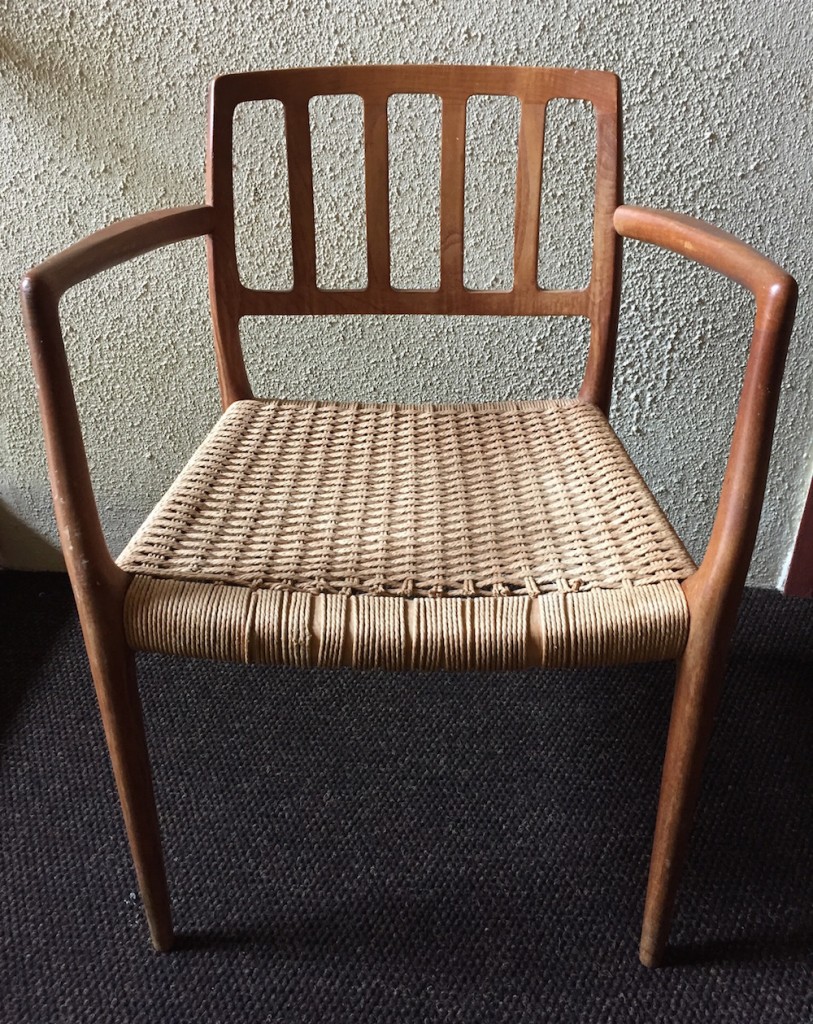
 (that’s actually not the same chair but the seats all look the same!)
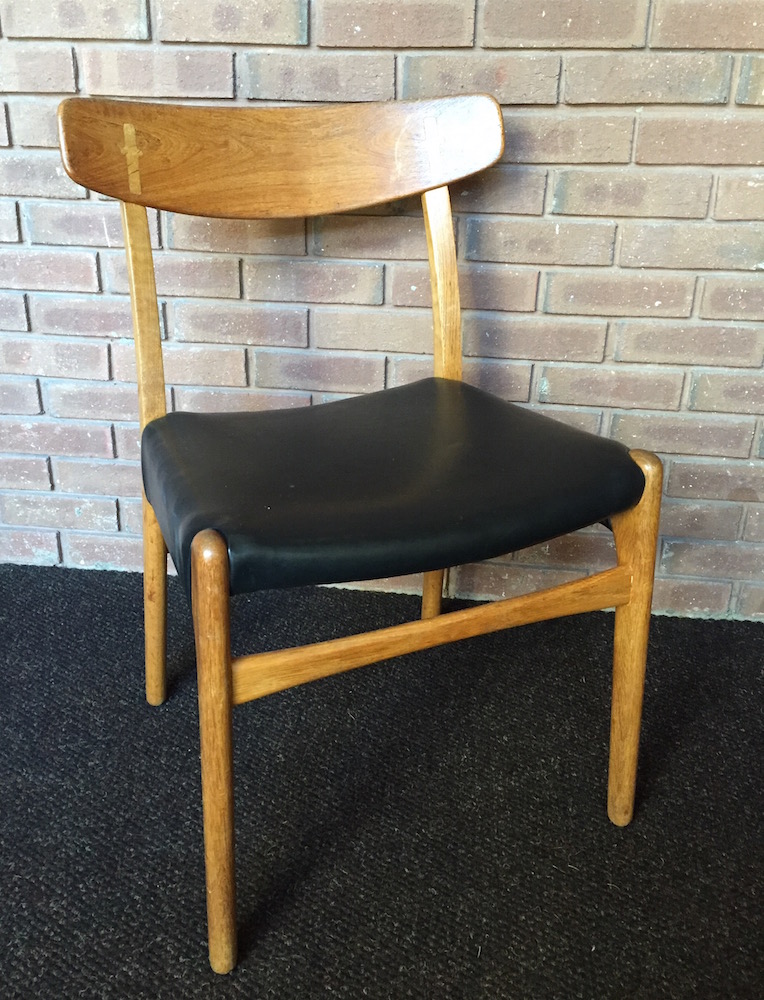 The set of four were also lighter in color than the fifth chair and after trying to oil the first one, I figured out why—someone had added a thin coat of varnish to them! It was done long ago, I’m guessing by the same person who put the vinyl on the seats, and it was definitely not original because there were drips here and there. The original owner at the time had his reasons, I’m sure, but the varnish was unevenly worn. It also was why they were lighter in color—almost blond.
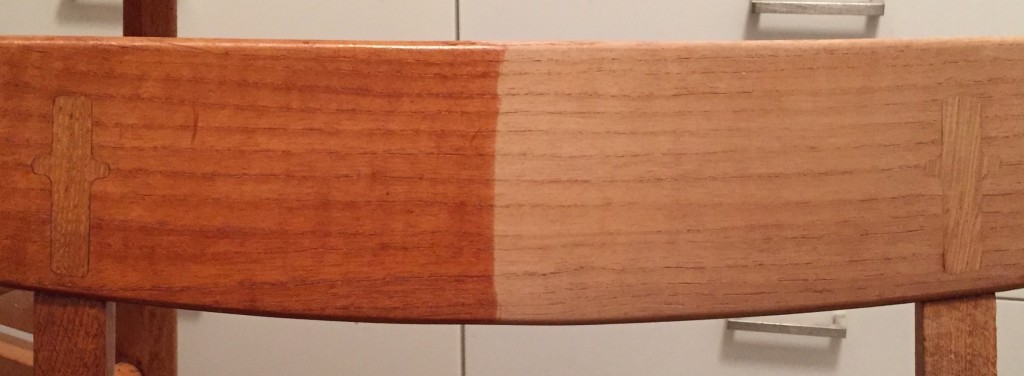 It also left the wood very, very dry, but I expected that. A few coats of oil and it looked beautiful again.
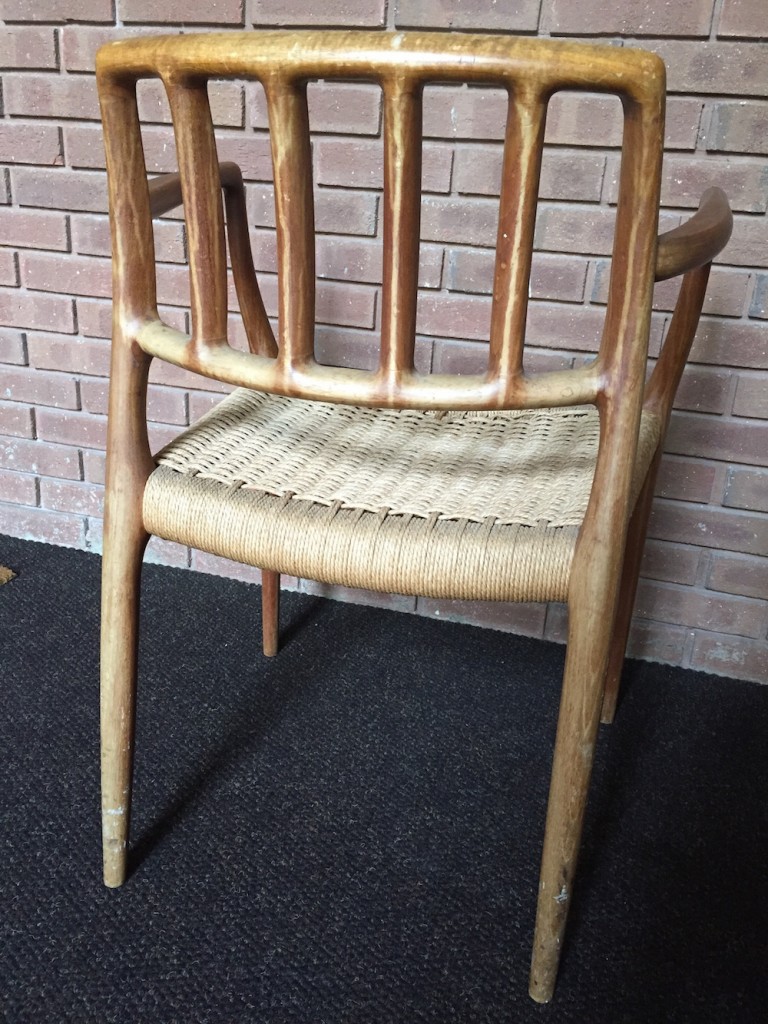
 I think this was the one that hadn’t been varnished. Those odd drip stains on the back came out pretty easily with #0000 steel wool and Star-brite teak oil.
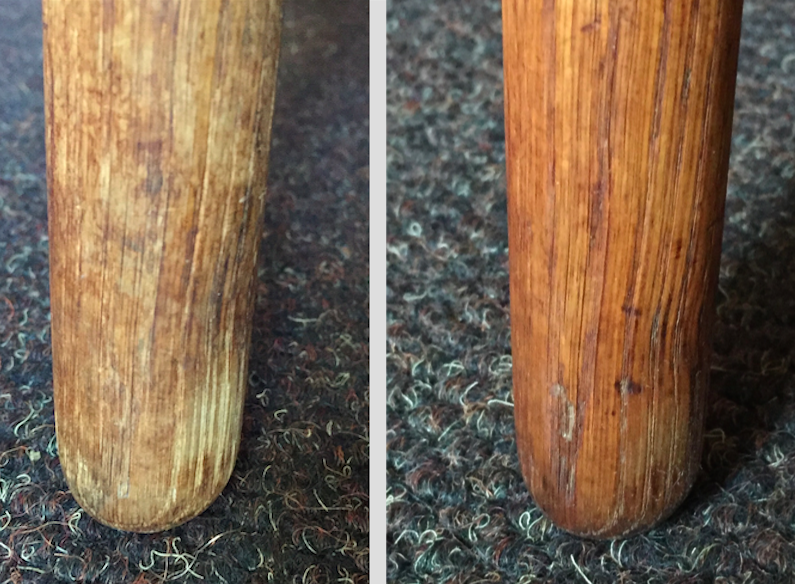 The ends of the legs looked like they’d had some water damage but oil and steel wool took care of that. The wood still has the patina of age, which is desirable for chairs like these.
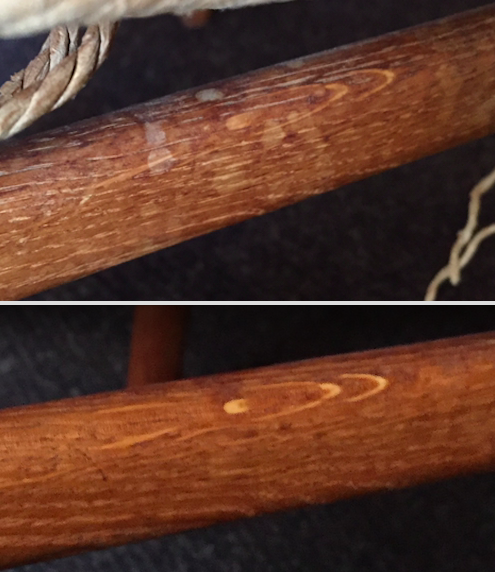 Water spots like the ones in the top photo come out with just gentle scrubbing with steel wool and oil.
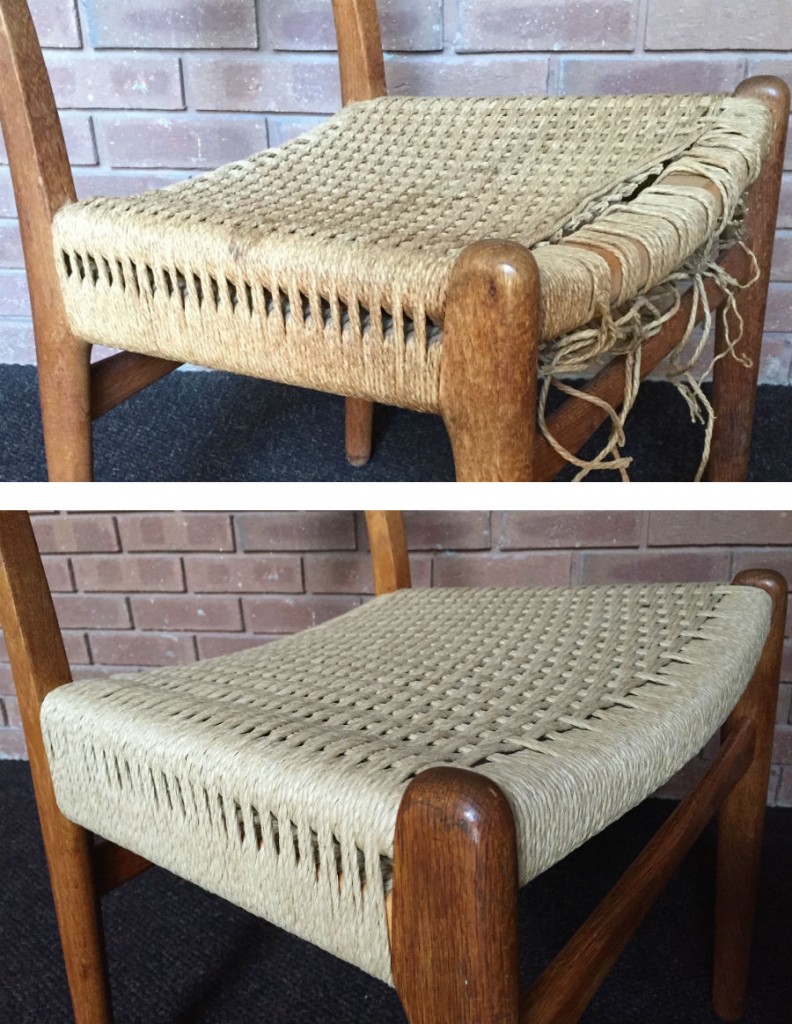 This weave takes longer because you have to pull the cord all way through each time instead of just hooking a loop of cord onto an L-nail—also means working with cut lengths instead of pulling it off the coil as you go. But it’s such a handsome pattern!
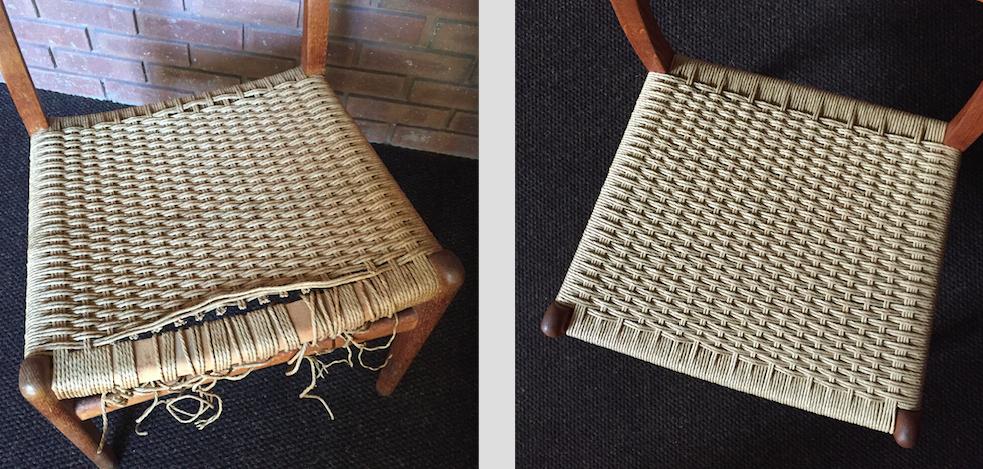 I do as tight a weave as possible so that there is minimal movement of the strands when the chair is sat upon. It seems to me that the less room the strands move against each other and against the frame, the longer they will last.
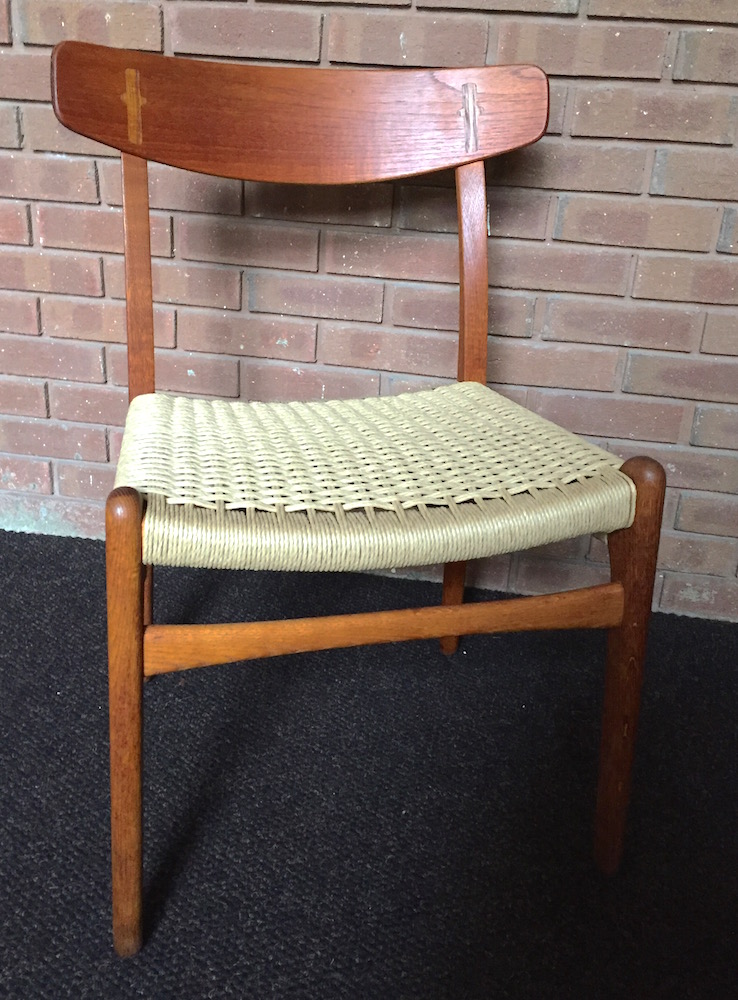 I wish I had room to photograph all five at once but I don’t, so you’ll have to take my word for it that all of them ended up the same deep, rich color!
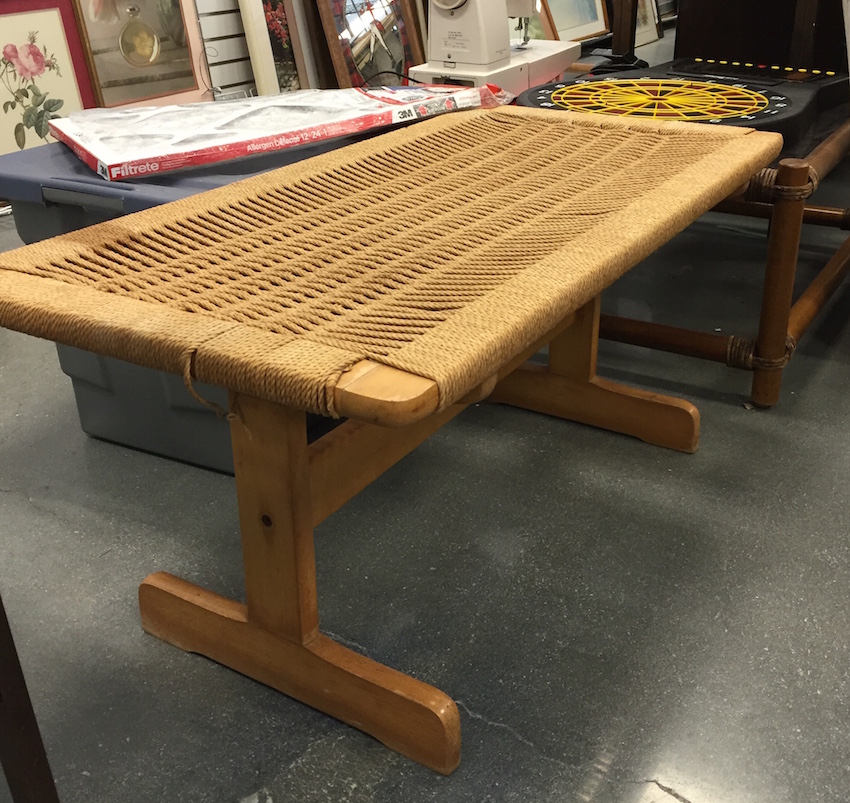 I spotted the woven top on this bench in a thrift store and of course had to check it out. It was marked Made in Yugoslavia, which was no surprise–it has the same look as the folding lounge chairs that are so common. But I’d never seen a bench before!
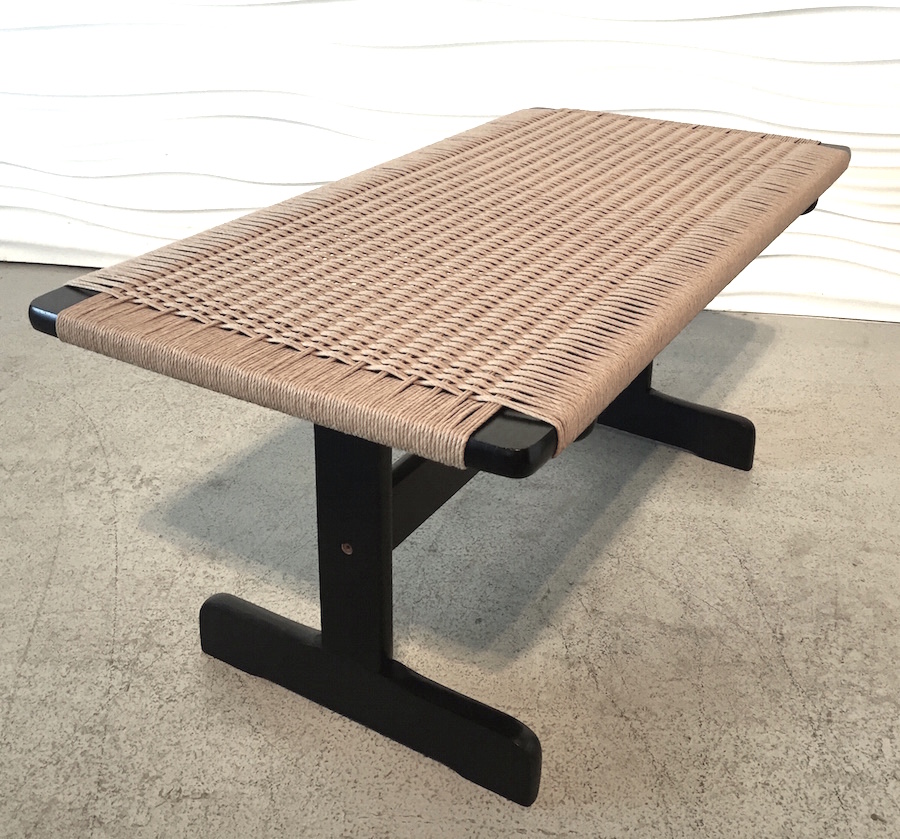
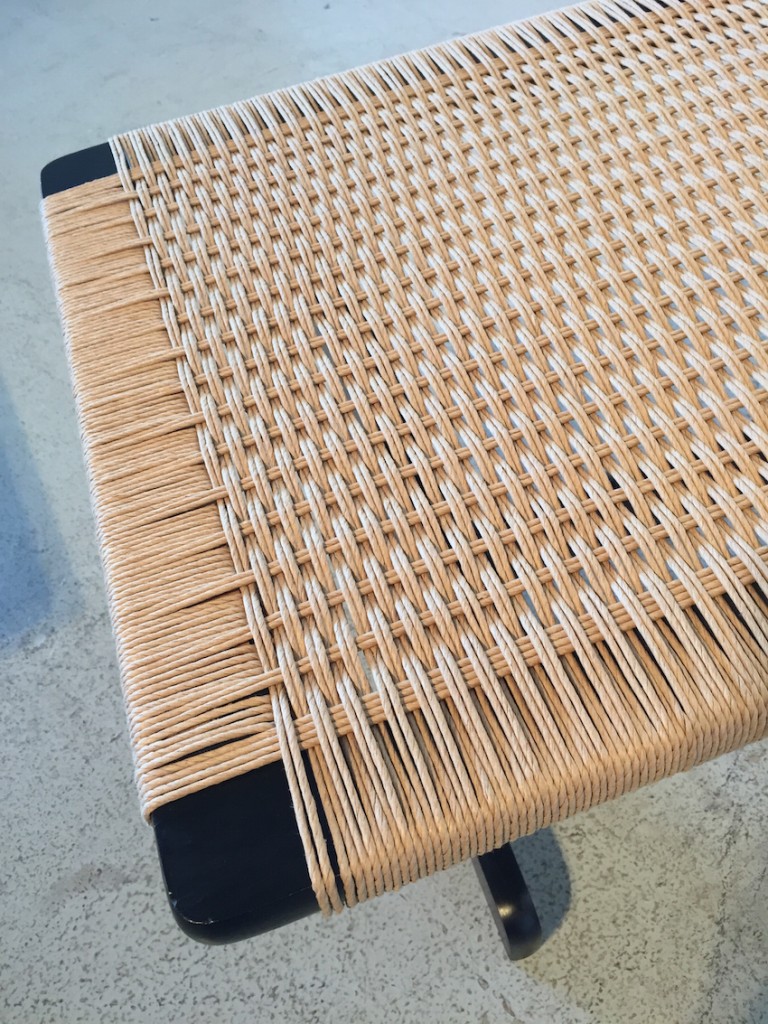 I think the ebonized frame gives it a much more stylish look. I’m a big fan of paper cord on black!

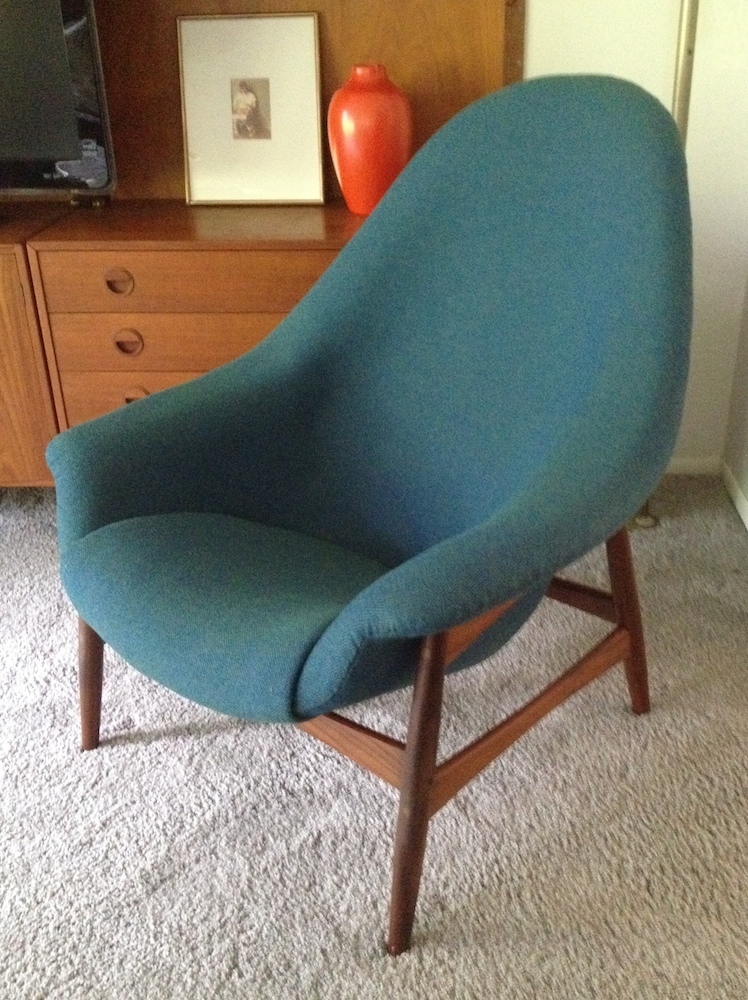
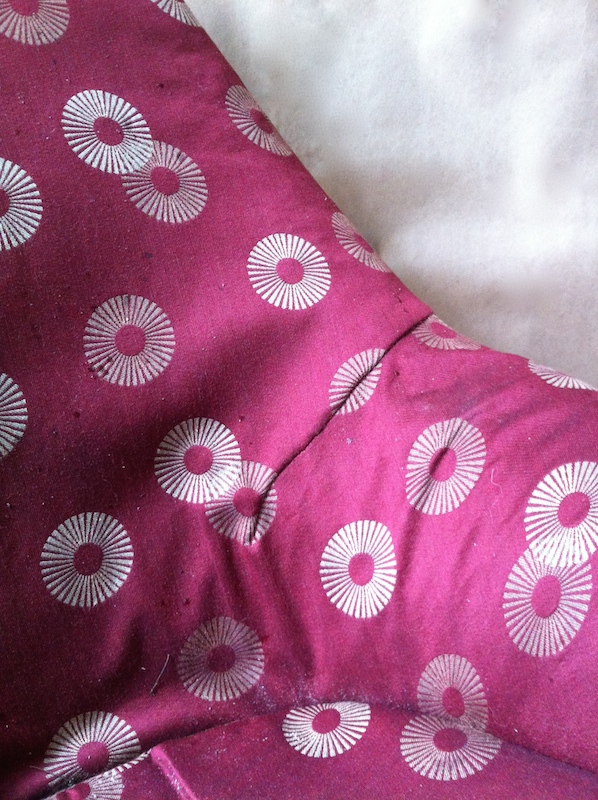
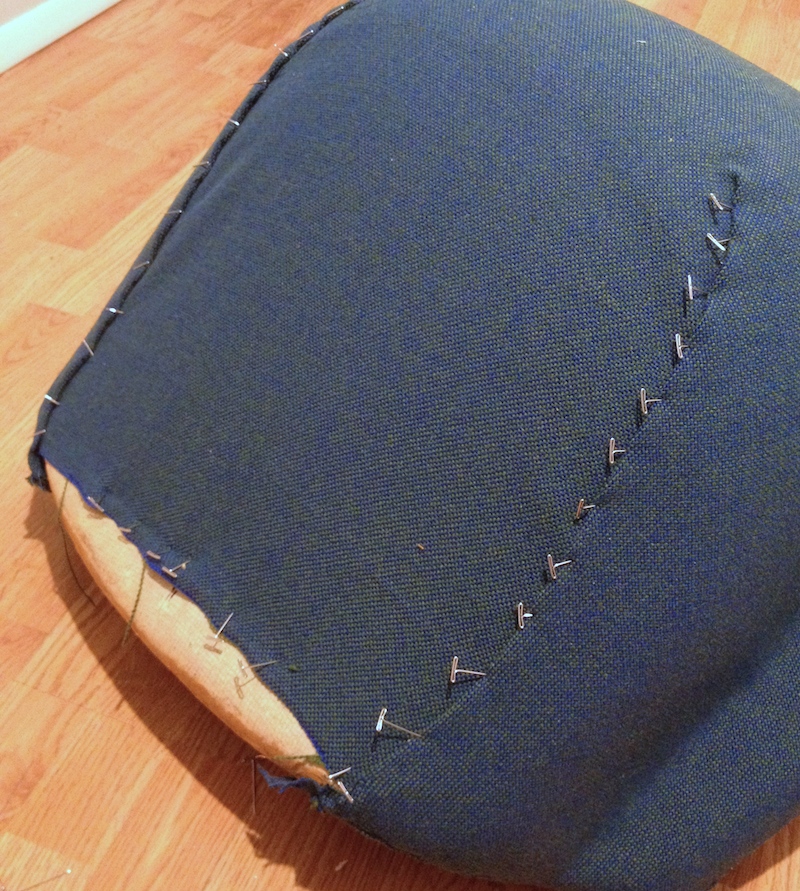
 The previous upholsterer just stretched the outside back fabric from seam to seam without trying to get it to conform to the contours of the shell. Or maybe he tried but gave up in frustration, which I could totally understand.